As part of my Digital Design & Fabrication graduate degree, I was able to take elective coursework in SUNY New Paltz’s excellent Fine Arts program. After a long conversation with my advisor, I decided to start my journey in fine arts with the Basic Wood design class. Like my coursework in Basic Metal, I took this as an independent study + the undergrad Basic Wood Design class.
I had little experience with woodworking. I had done some home improvement and rough carpentry but that provided absolutely no preparation for what I would learn in this course! The class is co-taught by Jeff Johnson and Ed Felton. Between the two, I got a fantastic lesson in art/design AND materiality/technique as it pertains to wood.
Initially, Jeff and Ed were a bit leery of my extensive use of technology in project work… but I think I won them over!
The Basic Wood Design follows a simple curriculum:
- Wood Carving
- Box
- Freestanding Horizontal Surface (not a table)
Sailor (Wood Carving)
Prompt:
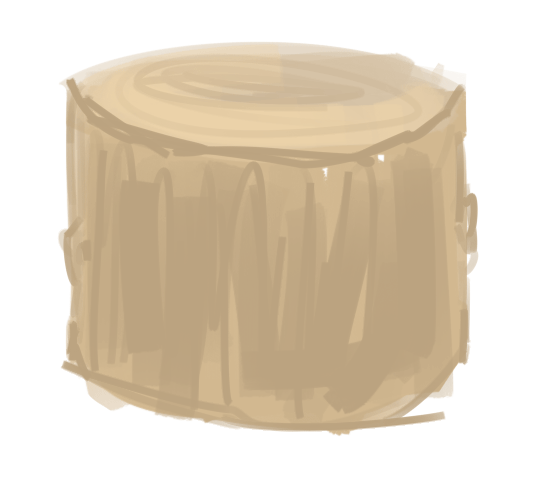
Using only chisel and saw, fashion this block of wood into a memento — an object that is reminder of a person, place or past experience that serves to keep the memory alive
When my stepfather passed away, there were only three items that I wanted to remember him with: his Union Carbide company ID and two rustic woodcarvings of seamen. You’ve probably seen these carvings at a seaside gift shop: simple, vernacular, stylized. For this assignment, my mind went immediately to these mementos.
Concepts
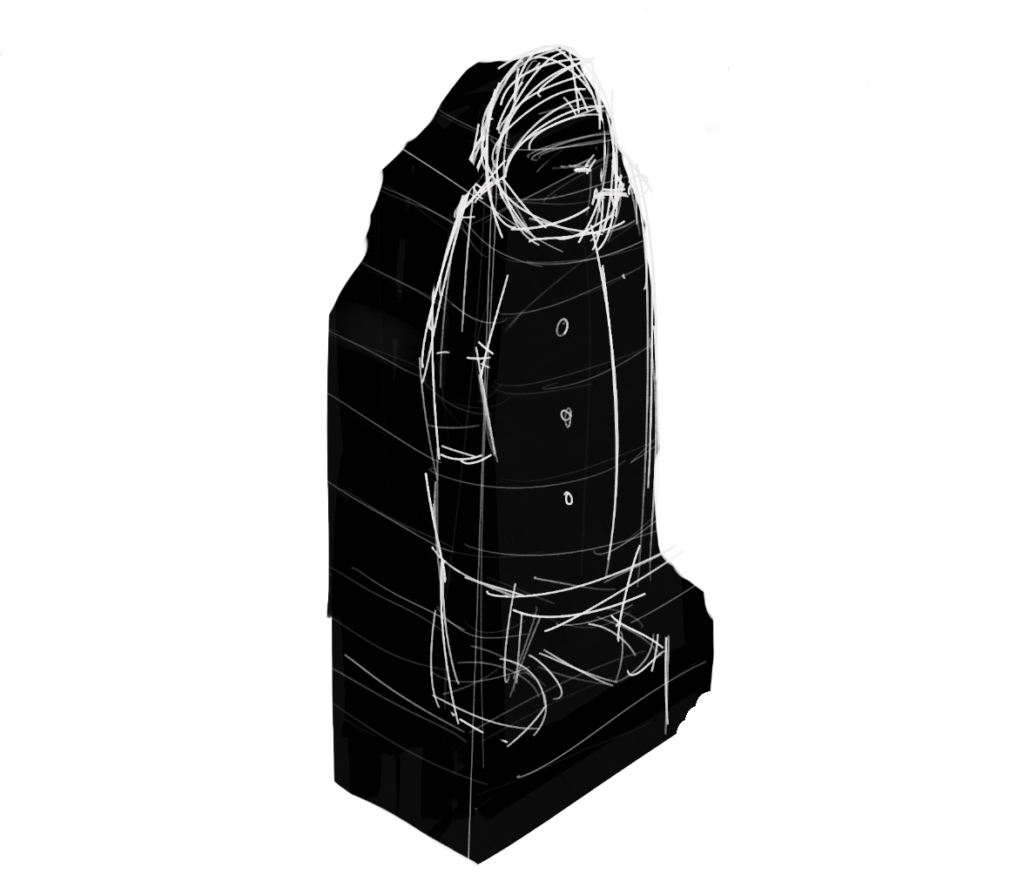
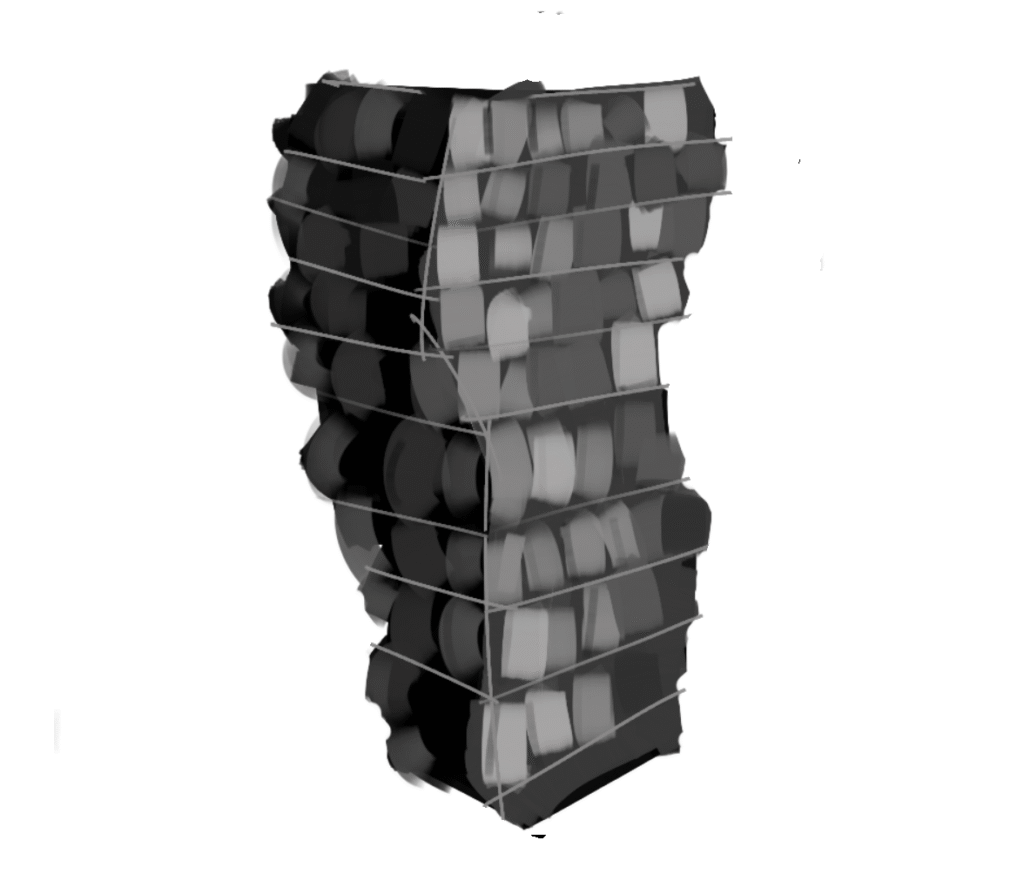
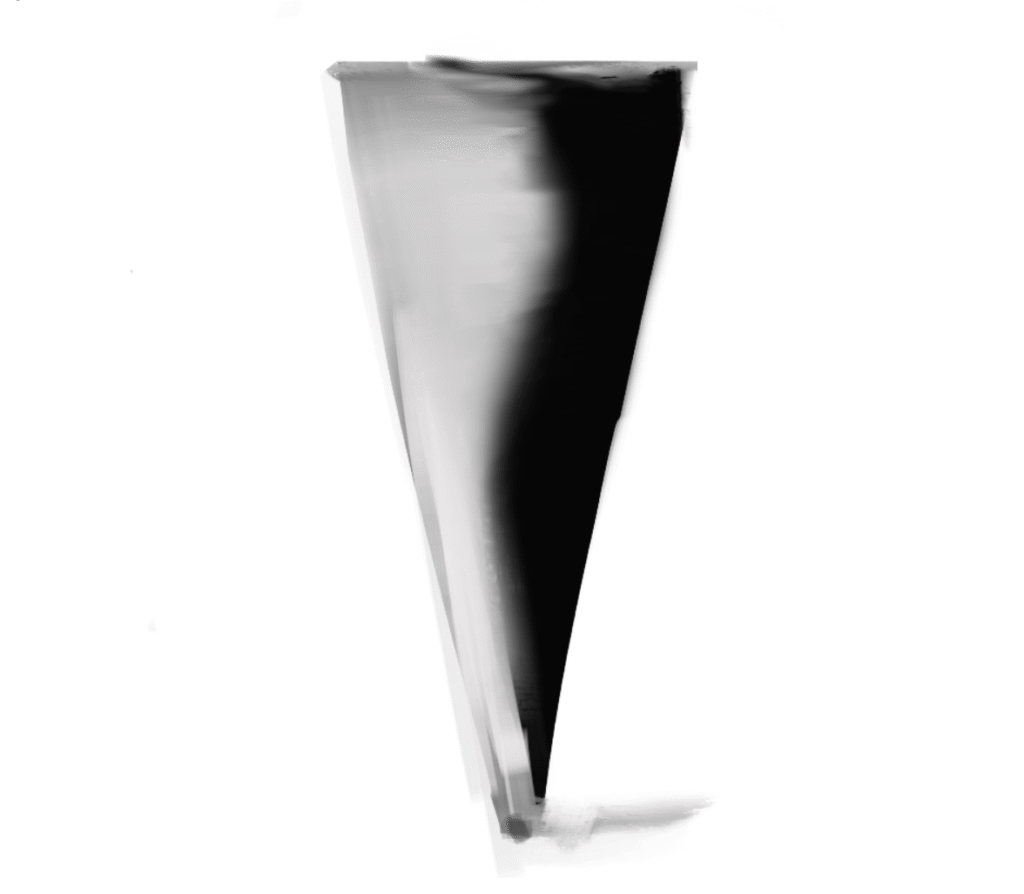
Even though I felt in my guts that the SAILOR was the direction I would go. I did explore more abstract concepts through sketches:


Even though I was committed to the sailor concept, I didn’t want to just replicate the existing vernacular object. I had recently seen an article about Michelangelo’s Prisoners. These statues are all ‘unfinished’ works where the human form is encased (escaping?) from the marble block. The Art and The Material co-exist. So for my Sailor sculpture, I would have the form emerging from the unfinished block of wood (depicted by the blockiness surrounding the figure above).
Sculpt
We were presented with a selection of wood blocks. Given the ratio of the standing figure, I chose the standing (Oak) block on the right edge of the table.
Working with plastalina non-drying ‘clay’ I sculpted the basic form that I would be chiseling out of wood.
Sadly, I don’t have any process photos of how this went from a rectangular block of wood to this finely sculpted artwork.
FINISH
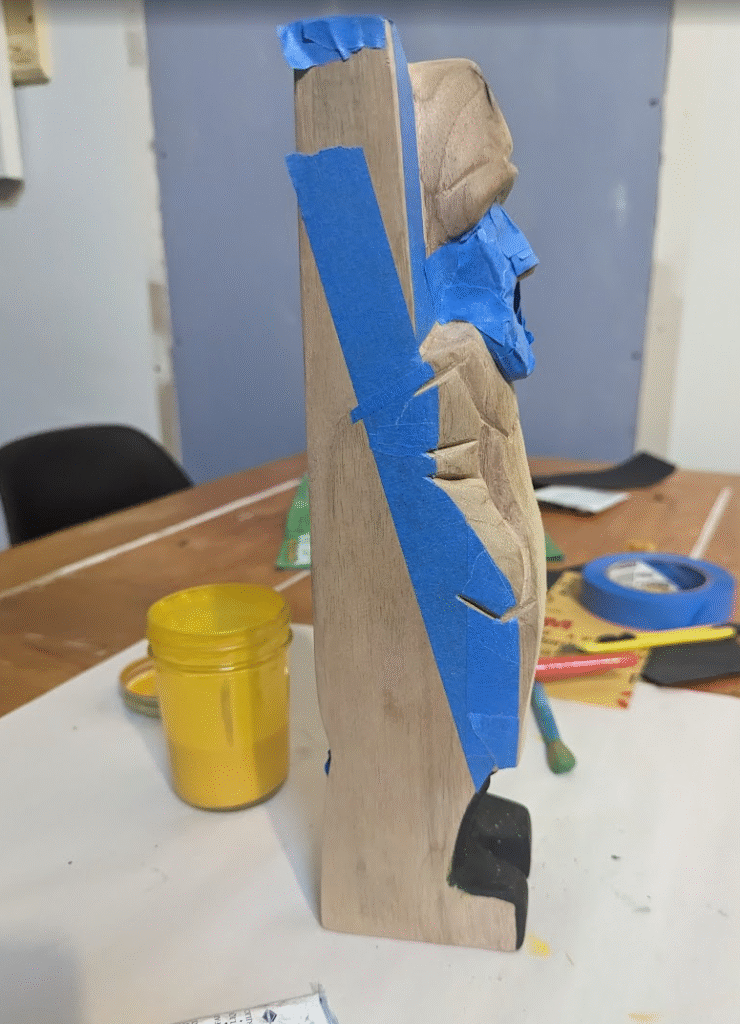
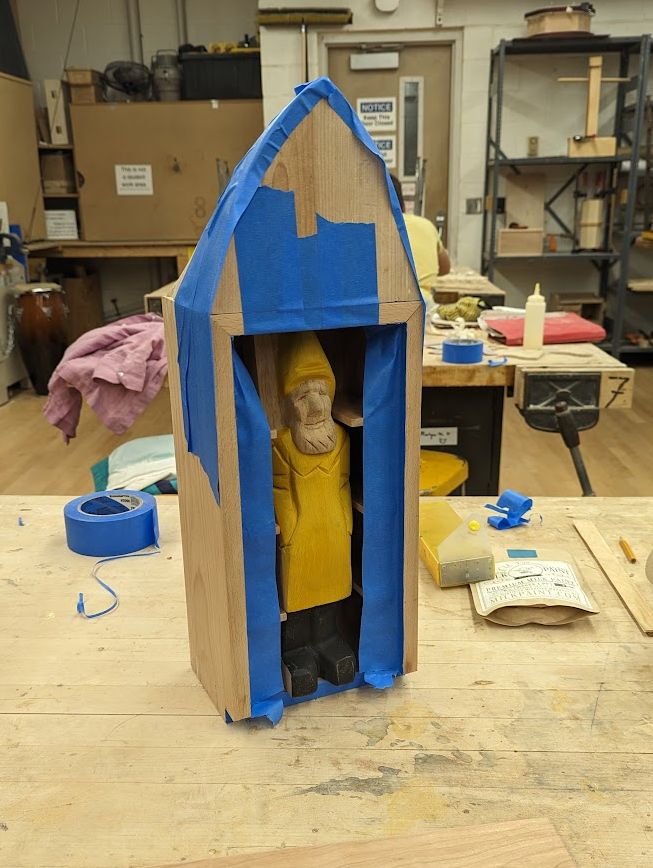
In keeping with the rustic, vernacular theme of the sculpture, I used homemade milk paint (curdled milk w/ pigment) to finish the sculpture. I masked off the edge of the form so the material would remain present in the final piece.
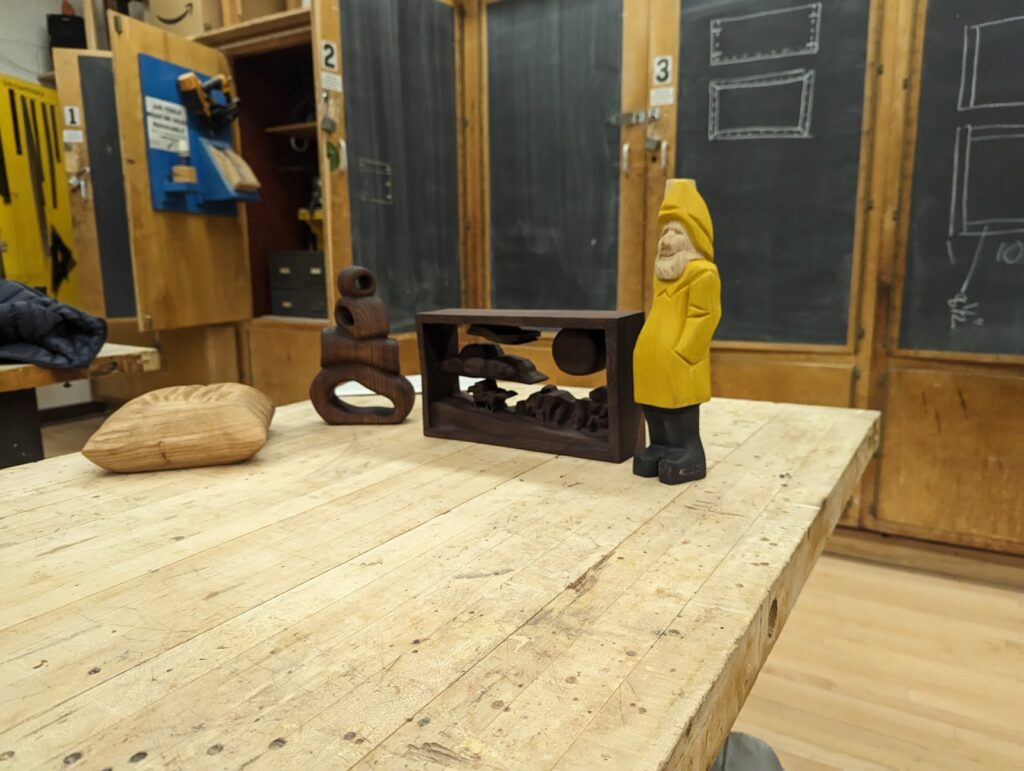
Here’s the finished sculpt on display with the other students work.
Final thoughts
This project helped me to understand the qualities of wood: grain, toughness, finishing, texture and paint. While wood is not the most forgiving material for sculpture, it is predictable, non-toxic, affordable, accessible, tidy and — most importantly — expressive.
For this project, I utilized minimal digital tooling — the analog approach suited the rustic, antique nature of the sailor. In an earlier concept, I wanted to integrate the block portion of the sailor into the box. You can see it here.
BOAT (Box)
Prompt:
Using power tools, create a box for the memento
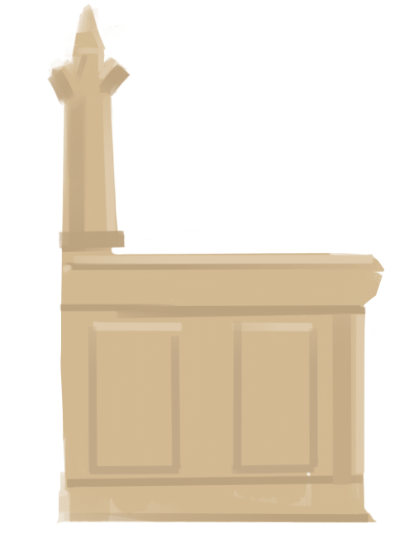
Another obvious project. A Sailor needs a Boat to be a sailor, right? In keeping with the theme of death and memory, the box/boat acts as a display case and a coffin-like enclosure… memento mori.
Process
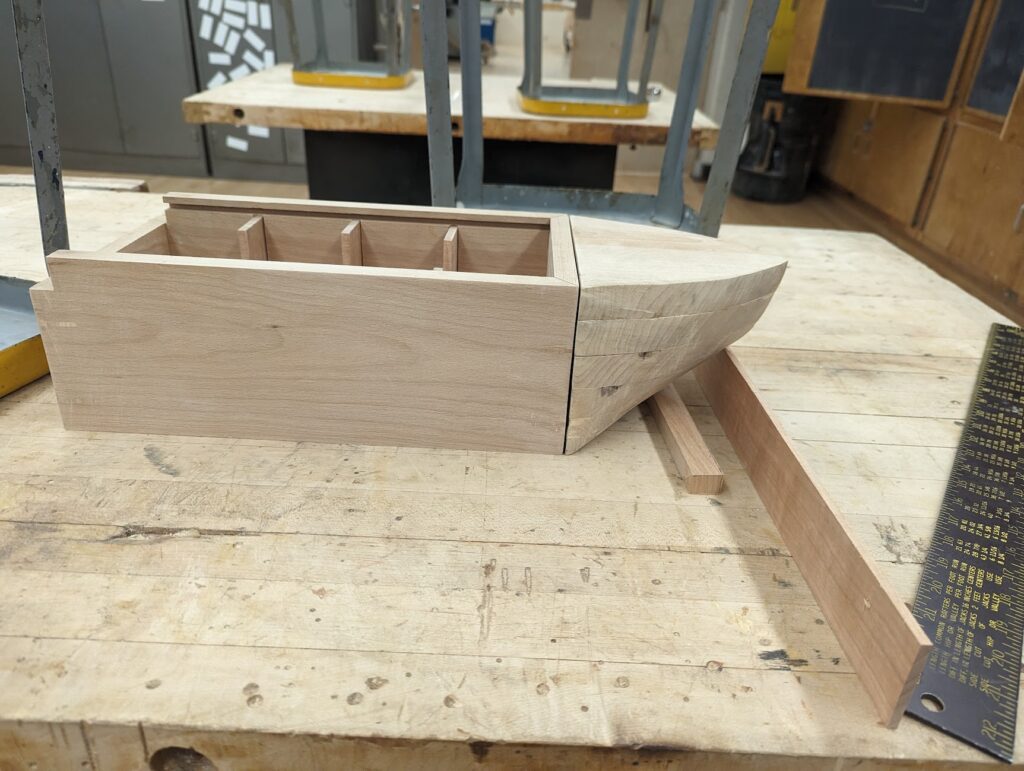
The Boat is essentially the basic box project with a hull glued to it. So most of the design and production work took place on developing the hull. One of the requirements for this project was to develop a set of 1:1 blueprint/plans for the item:

With the basic shape of the hull sorted out in the plans, I had to actually build it. My CAD program of choice — Rhino3D — was initially developed for designing ships so I HAD to use it for designing the hull.
For the sculpture project, some students glued together wood to alter the shape of the sculpture beyond the raw form. Making a hollow hull would have been a tremendous undertaking, so I decided to just make it out of a big chunk of wood. I could have glued all of the blocks together and busted out the chisel again to form the hull. This would have been a huge undertaking and could have ended up lopsided etc.
Also, I would not have been able to use digital tools. So working from the basic shapes in the plans, I created a set of closed curves (Rhino3D) that echoed the desired shape of the hull by using a profile curve as the mid-point.
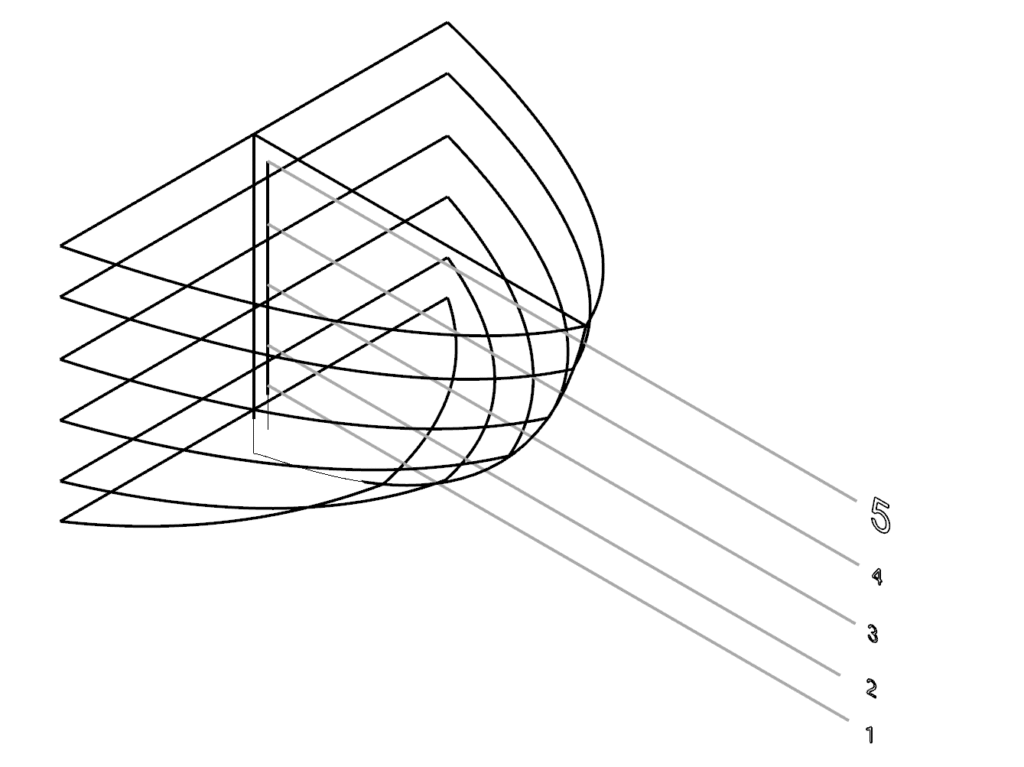
I exported the curves as Illustrator files and printed out templates that I used for cutting out my blocks with a jigsaw.
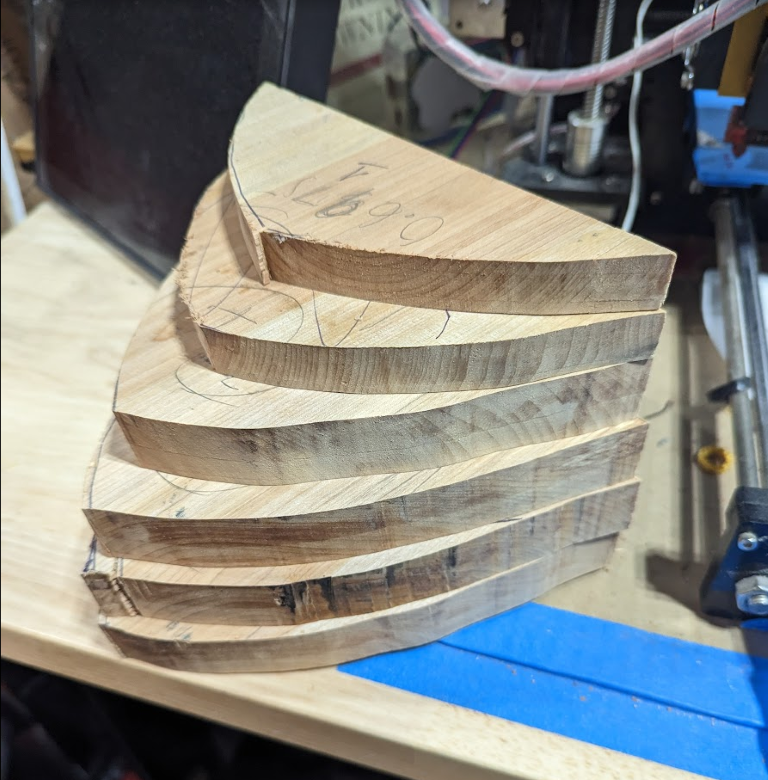
Due to the ‘resolution’ (or height) of the blocks, this led to a stepped rough shape. I used an orbital sander to shape it down into a smooth seaworthy hull.
Finish
Sticking with the rustic, vernacular theme of the Sailor, I again used milk paint for the finish of the boat… leaving the interior raw unfinished wood (again the coffin motif). The milk paint was protected from oily fingerprints by applying a light coat of finish wax. The final touch on the boat were ‘shiplap’ grooves on the sides — applied with an X-acto knife.
Final Thoughts
Functionality meets art with a bit of problem-solving/design. Forming the hull was good experience in the flexibility and broad possibilities of wood as a material.
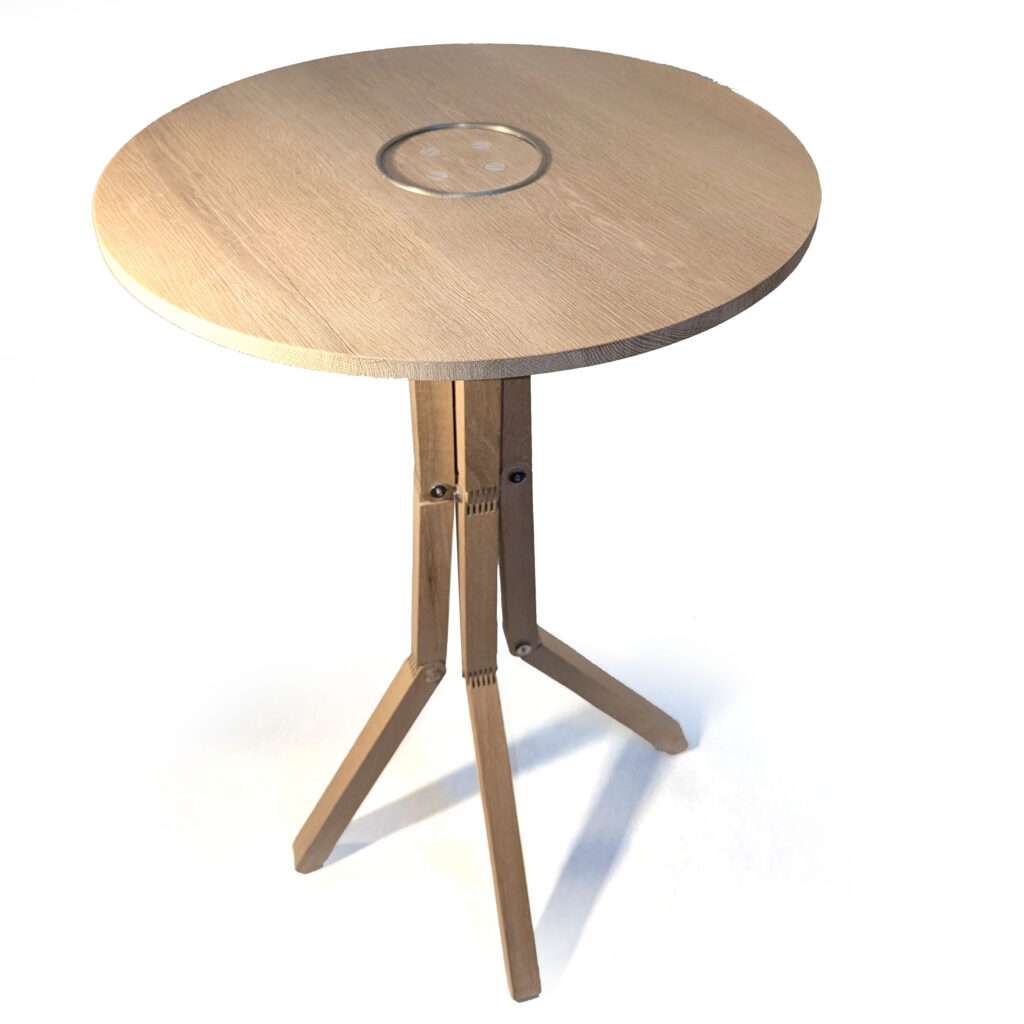
Table (Freestanding horizontal surface)
Prompt:
Using all of your woodworking knowledge, design and build a freestanding horizontal surface (not a table)
Process
For this project, we were given two days to sketch out 10 concepts. I thought this was crazy and kind of struggled with it. While I did come up with a bunch of ideas…

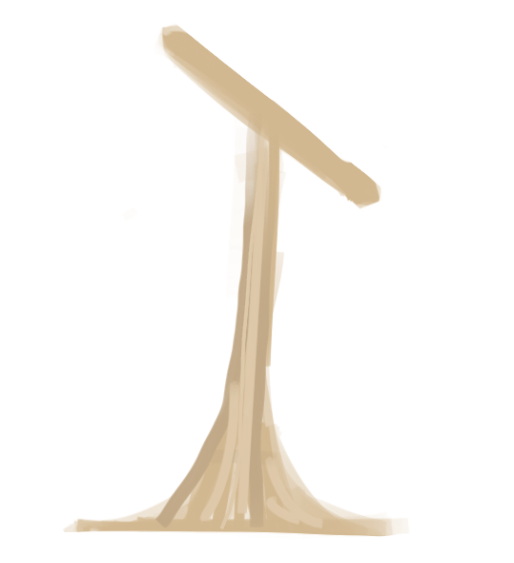
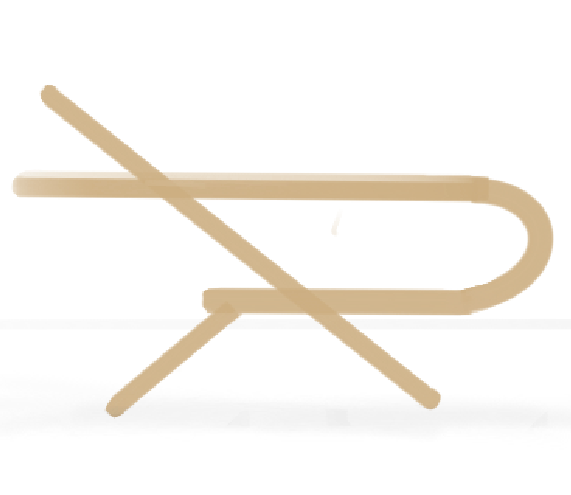
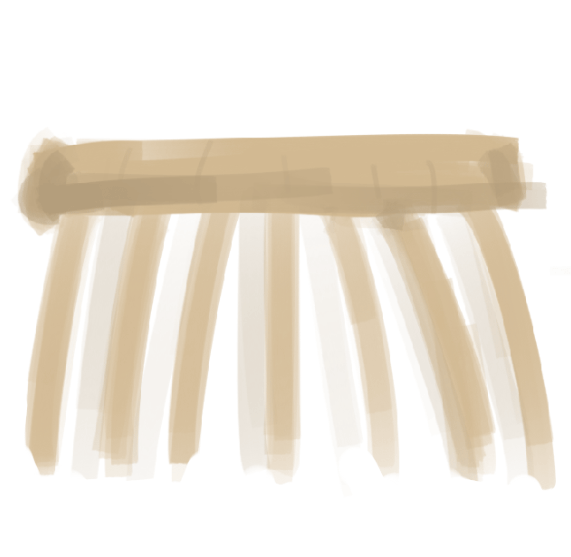
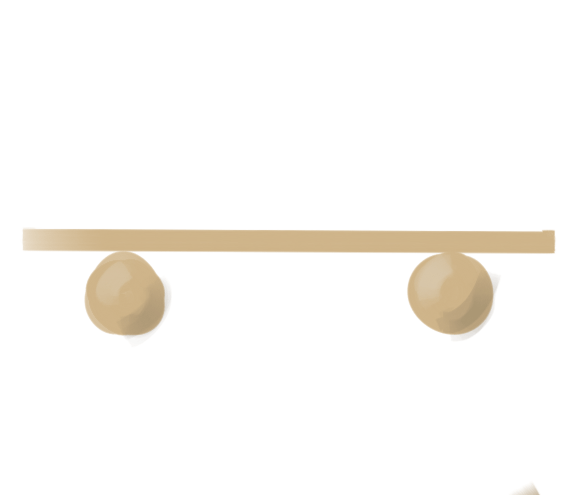
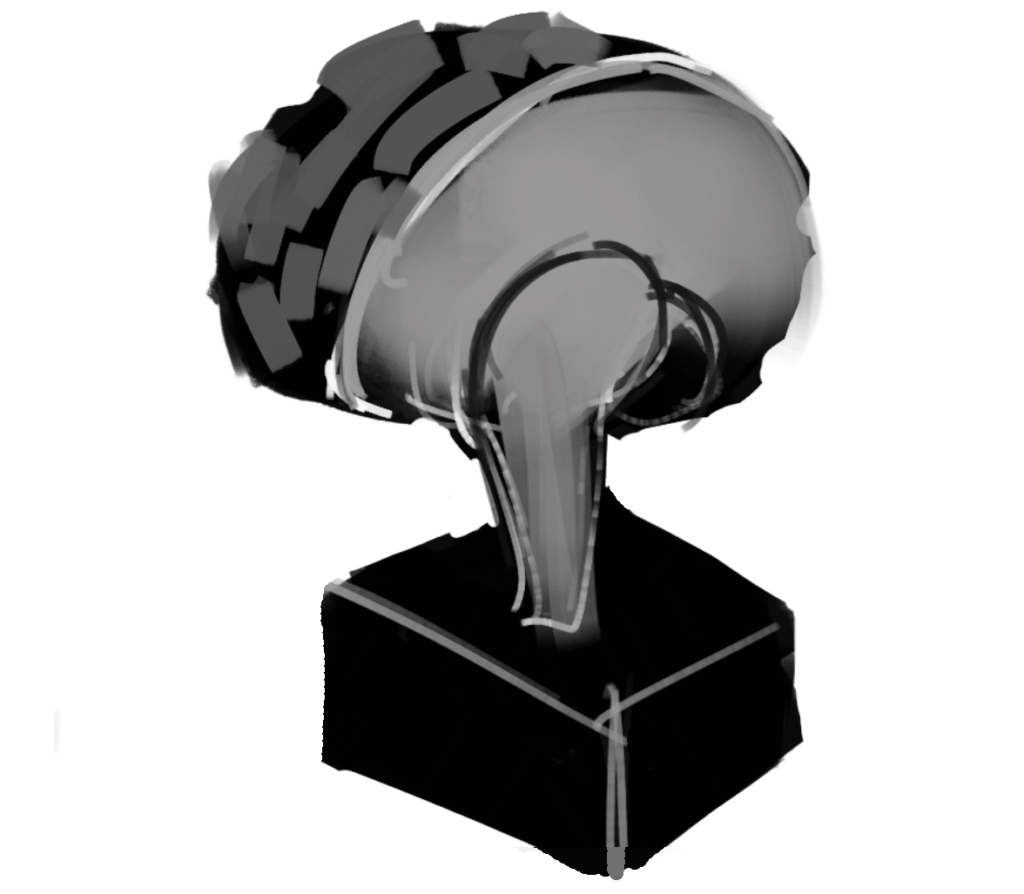
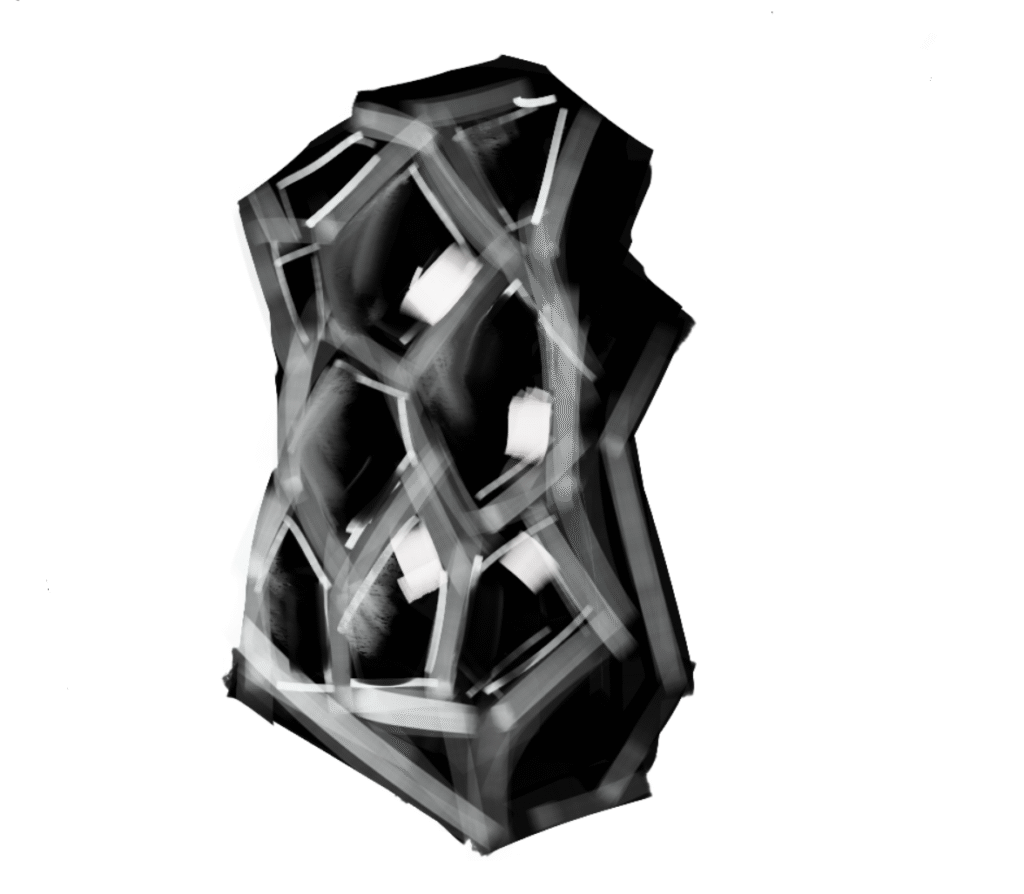
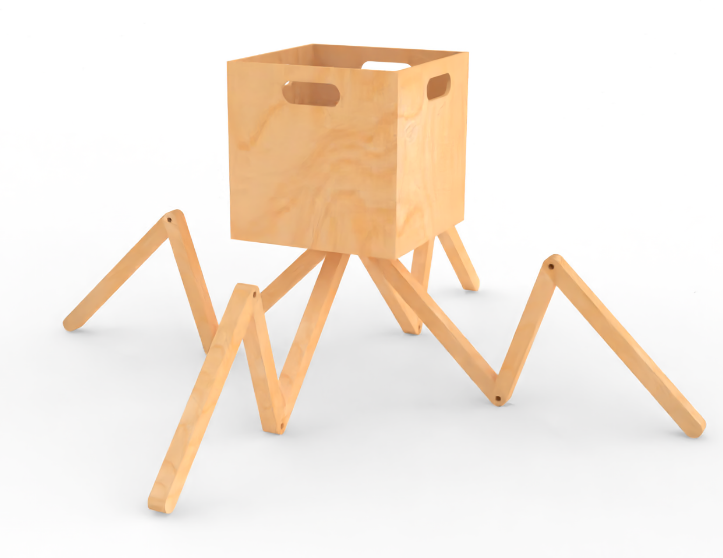
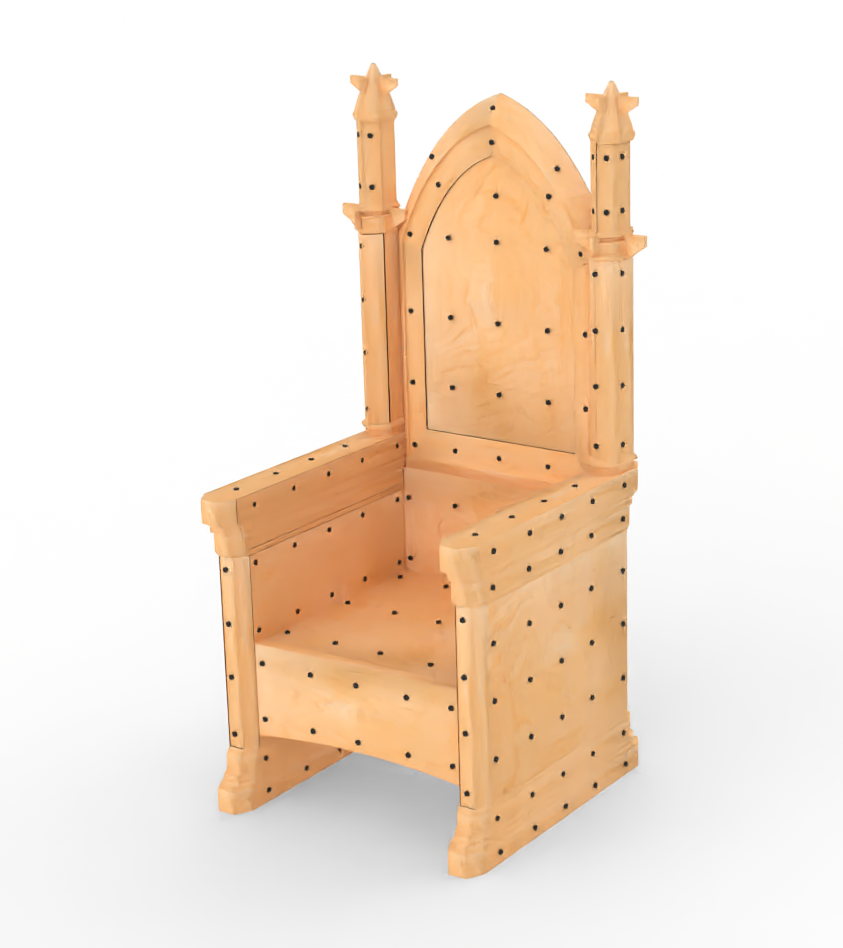
… None of them were any good. During the class crit, one of the other students mentioned an idea that they had about a spider-y table. This got me inspired. So I came up with this concept:
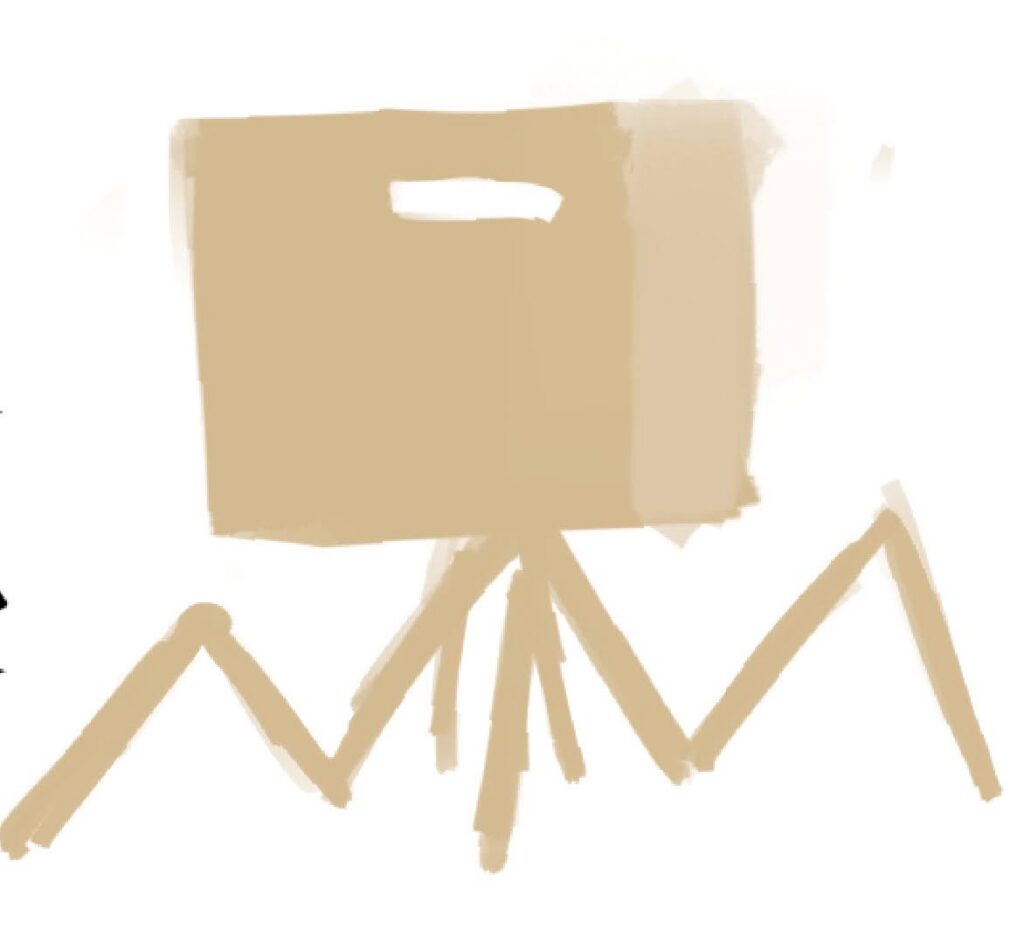
From an aesthetic standpoint, it echoes some of the CAD insectoid/robot/gadget/sci-fi type work that I had been producing. From a functional/conceptual standpoint, it would be a modular furniture piece that could accept a variety of leg sizes and top attachments (vinyl record crate pictured).
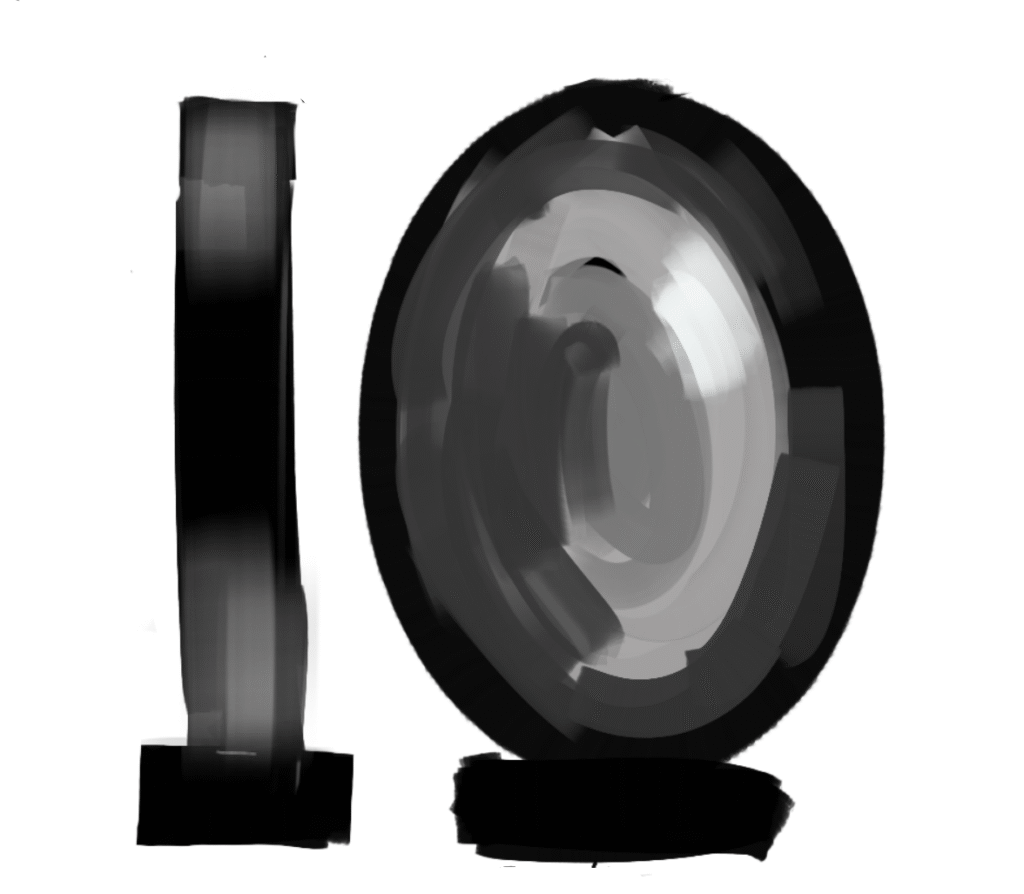
Models
Since building full-scale furniture is pretty hard (as I would find out), many woodsmiths start with 1:4 scale models to get a sense of the proportions, feasibility and overall design of an object. Keeping with the bootcamp approach of this project, I was tasked with producing a 1:4 model for THREE of the concepts.
This definitely required technology!
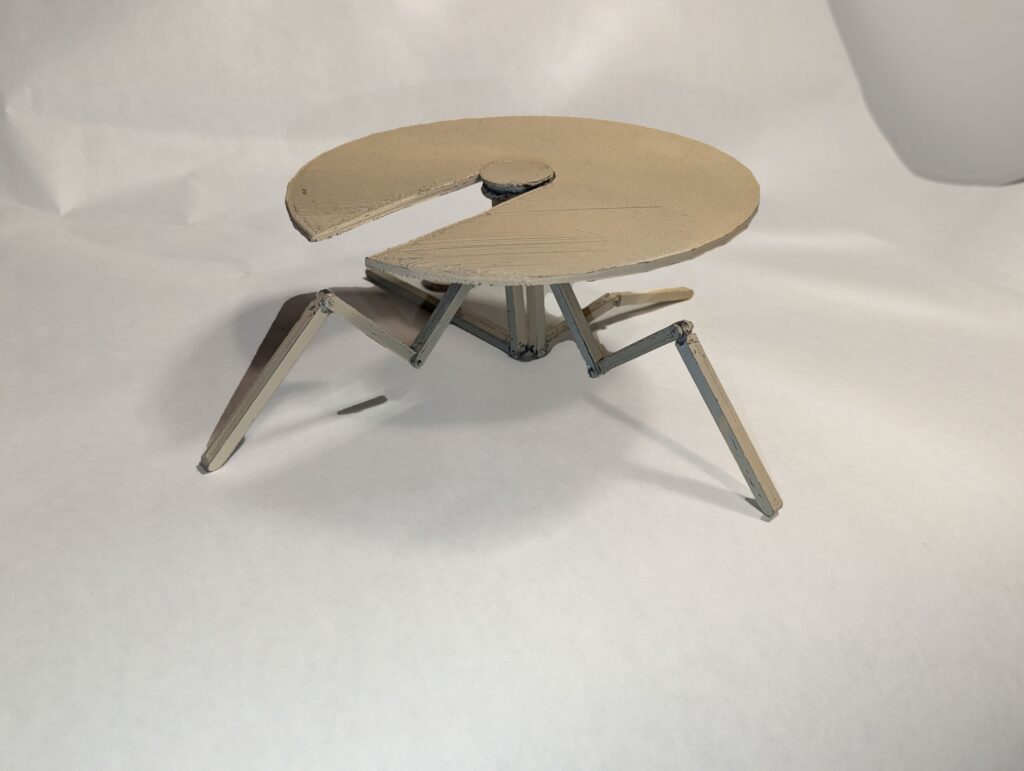
I quickly modeled up a bunch of the concepts using Rhino. I would 3D print the three top ones and present those in class.
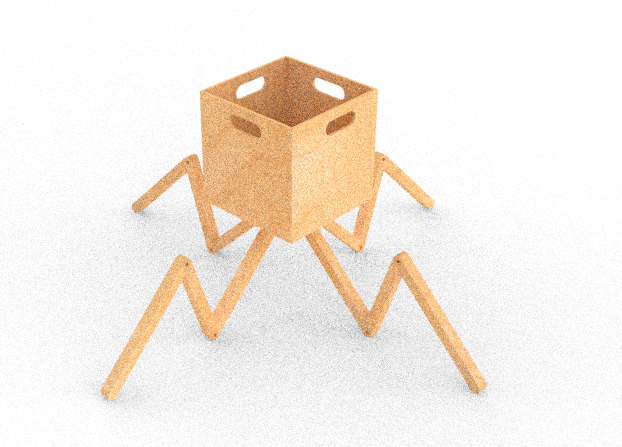
If the goal of a physical model is to evaluate the design direction, then I think a virtual model does 90% of this. At this point, I was 99% sure that I would end up building the crate/crawler table.
The 3D printed pieces drove that point home.
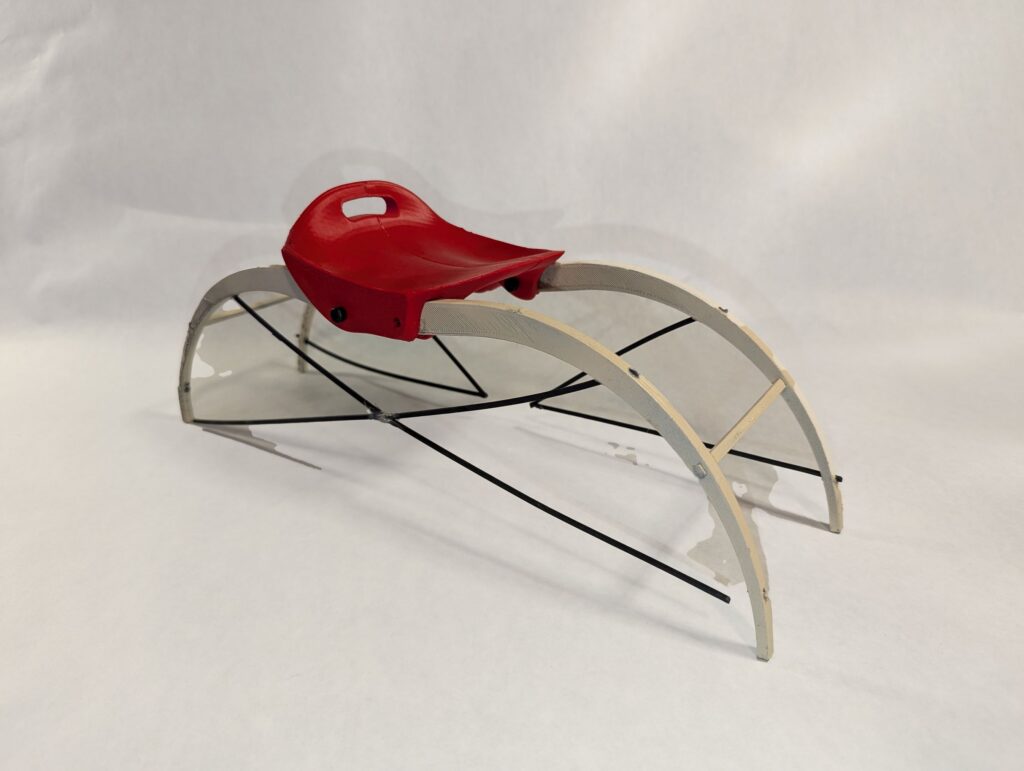
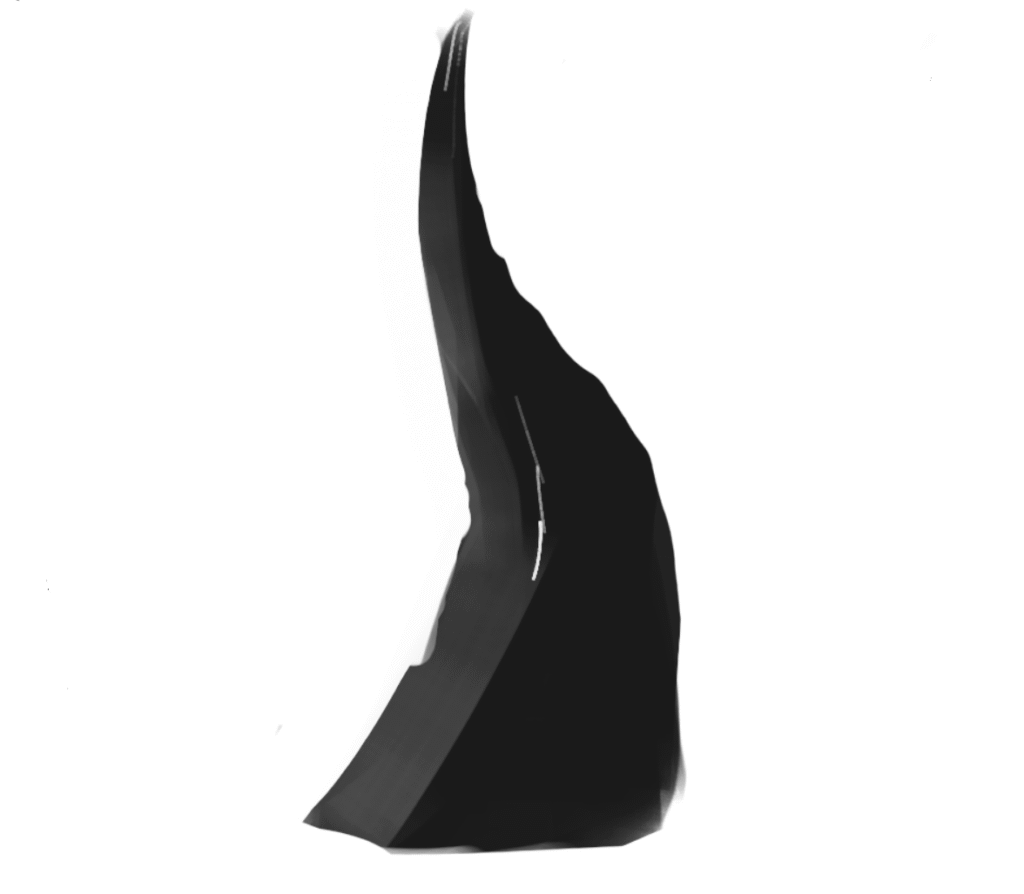
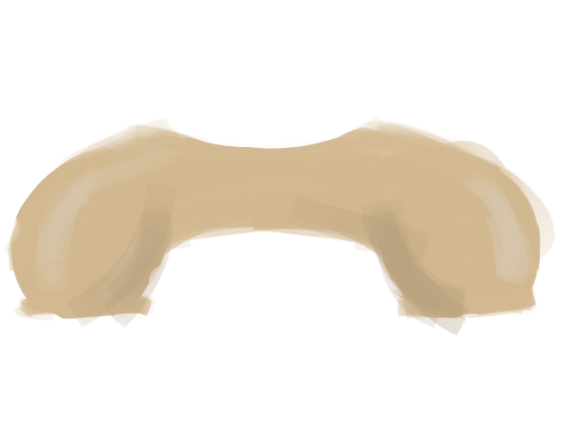
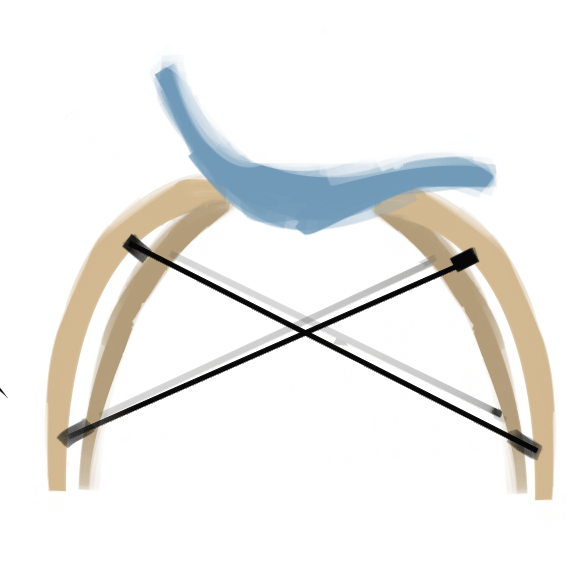
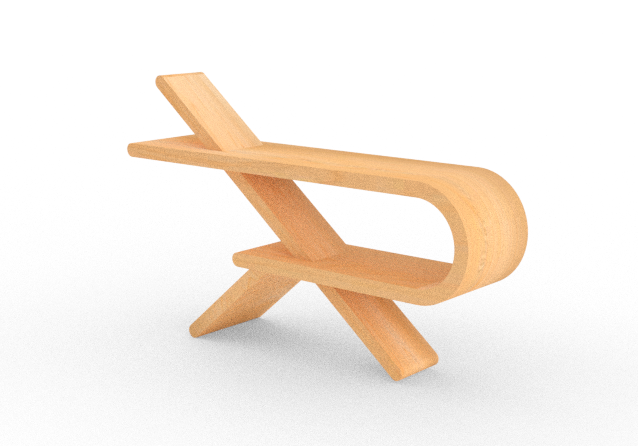
I do still think the ‘saddle’ concept would make a cool (and confounding) stool!
Production
With my mind made up on the Prion Table, I had to again produce 1:1 plans. Rhino3D has built-in drafting tools so I again ‘cheated’ by using technology rather than analog pencil and paper.

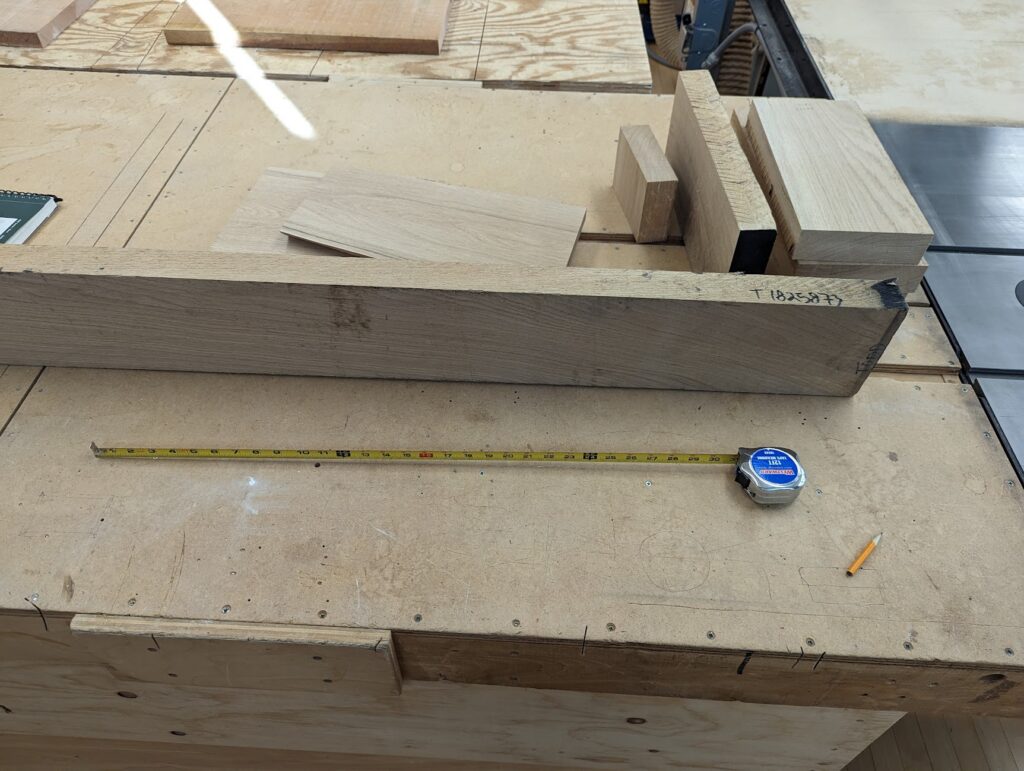
We took a field trip to a lumber yard (Ronsen Piano Hammer co). We would build our piece out of rough cut lumber. A single 6″ x 10′ x 5/4″ white oak board would be jointed, planed, cut, sanded into a complex object. Hence, the importance of plans not just for design intent but also for material procurement.
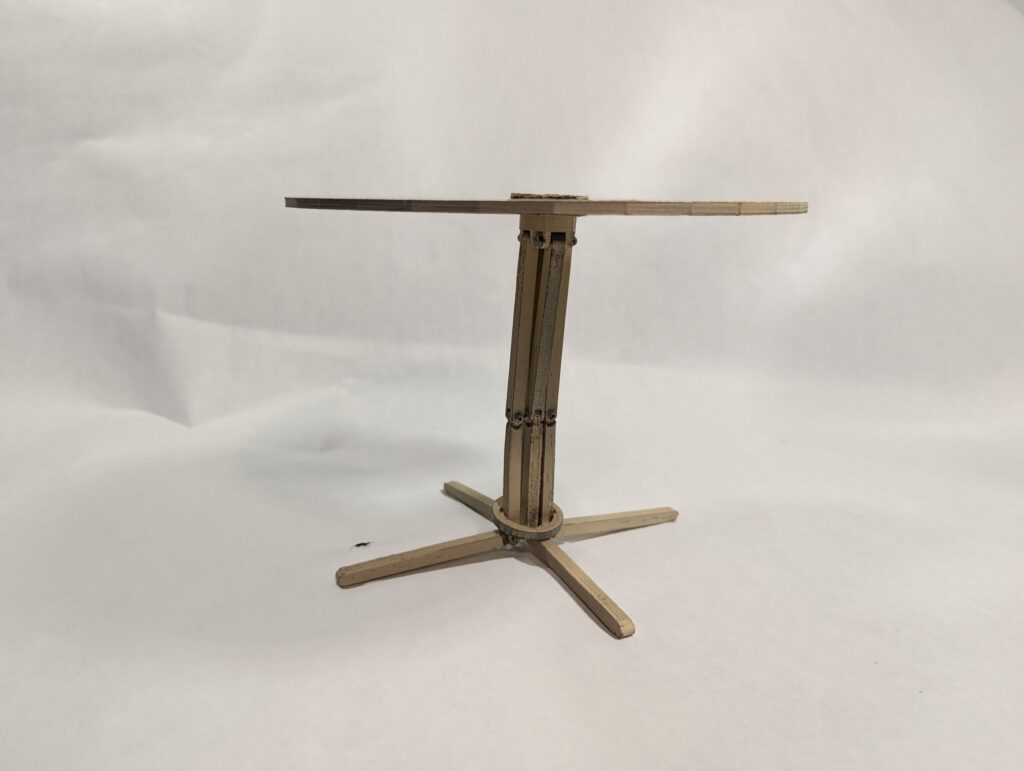
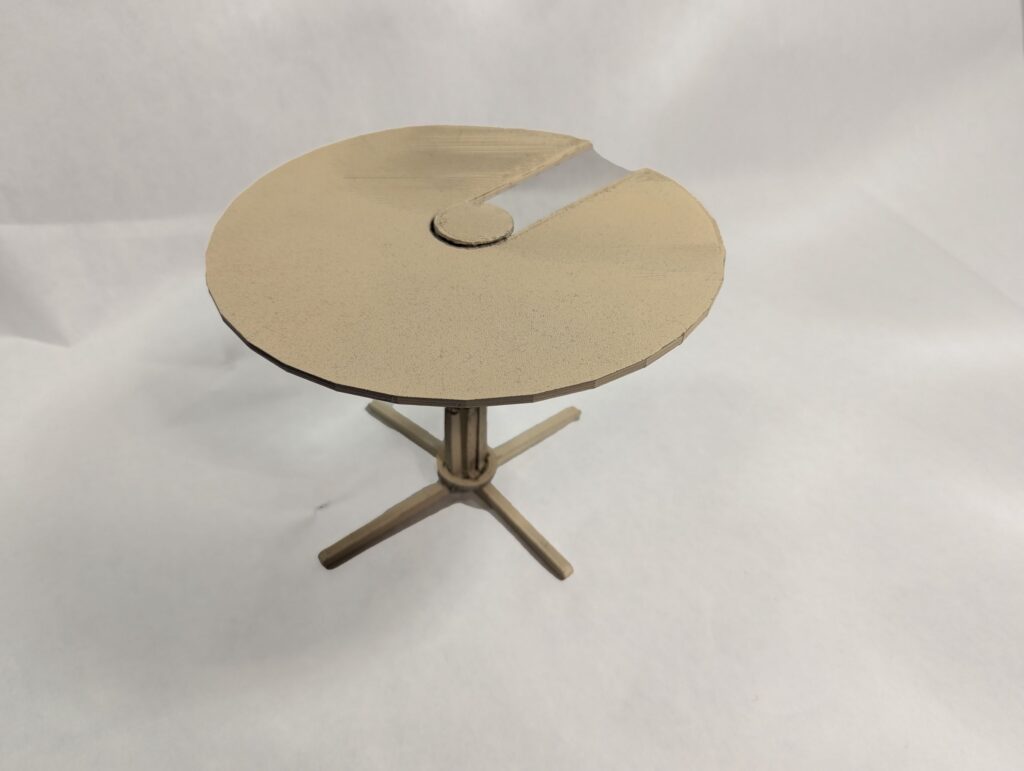
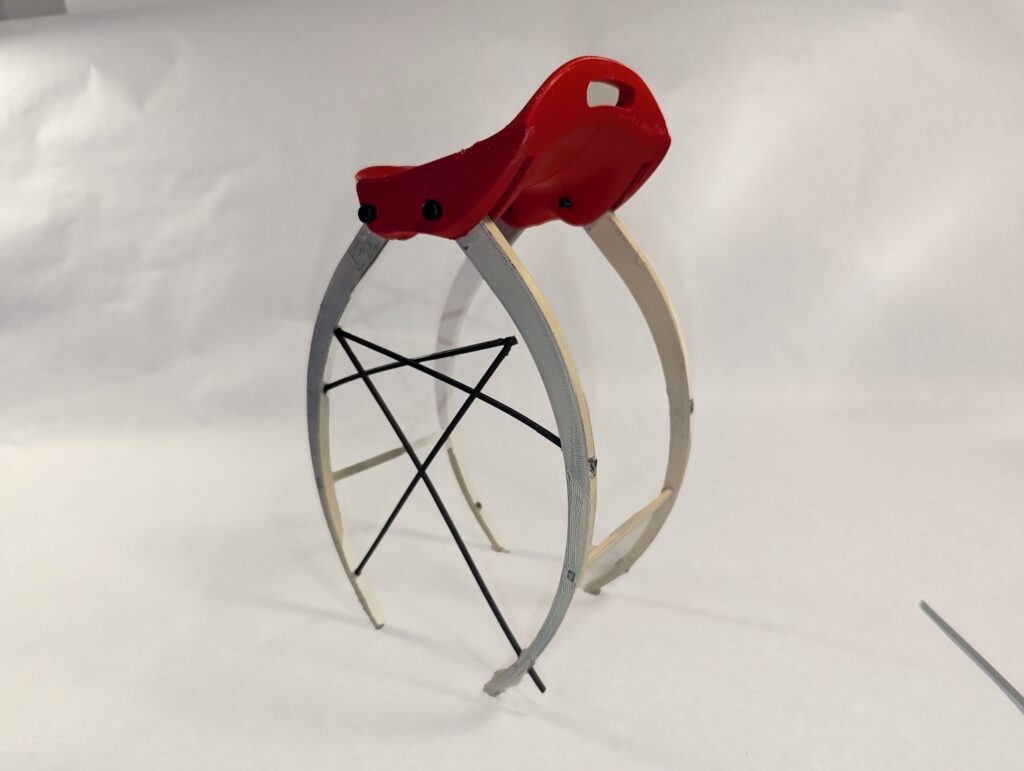
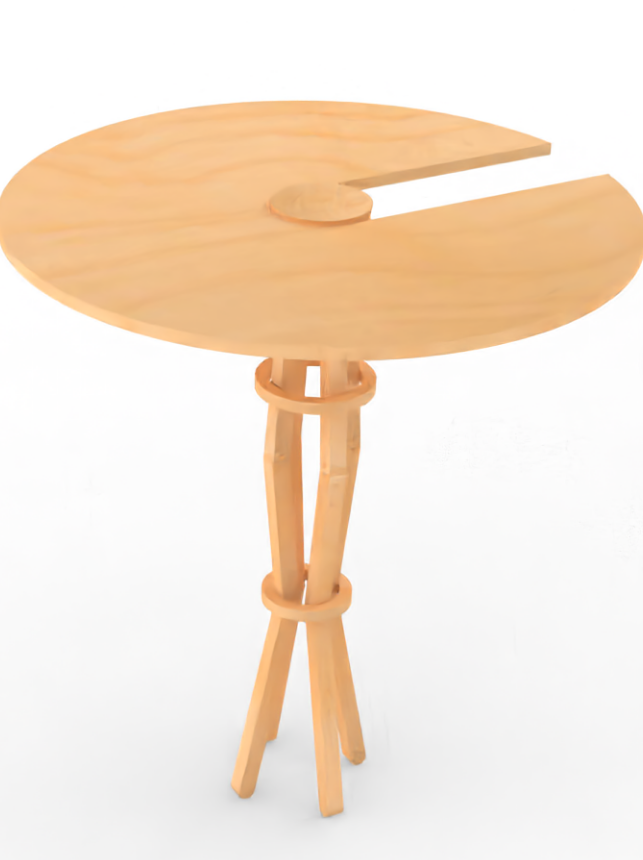
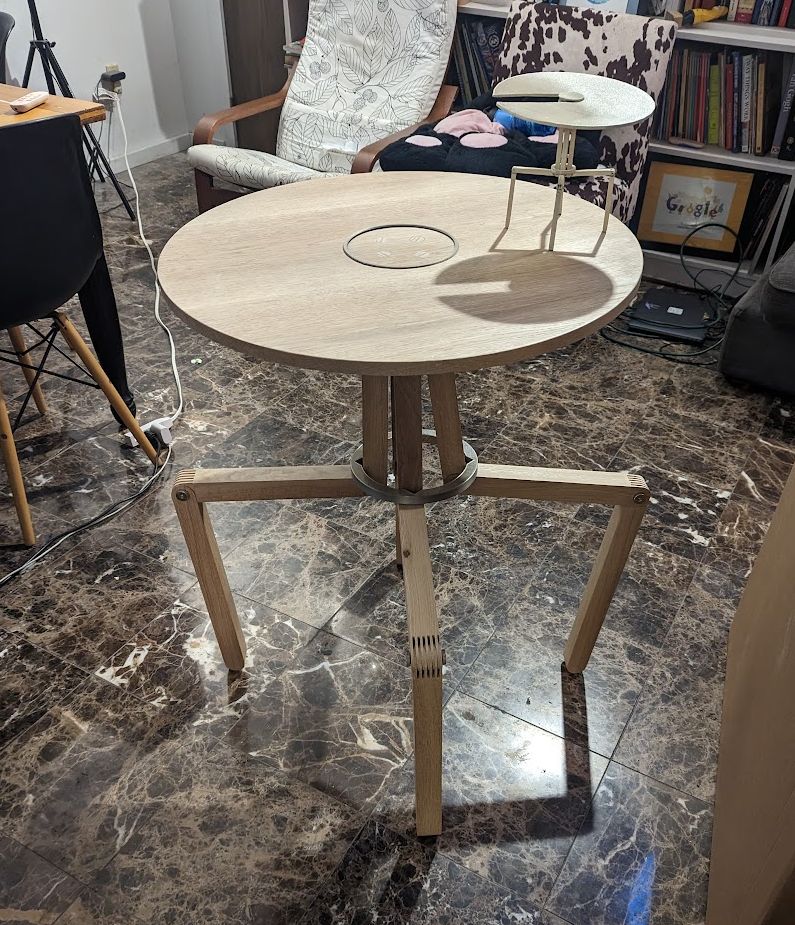
As I was designing the 3D model (see it on Sketchfab), I ended up on a central ‘hub’ system for swapping different components onto the legs. The hub would rely on a compression ring (and a mallet) as attachment mechanism. For production, I decided that the default attachment would be a table top — the crate was cool but a table offered greater functionality, better aesthetics and improved recognizability (sic).
My initial design used a “knuckle” for the joints in the legs. Jeff and Ed said that it would be wobbly and ineffective and suggested that I use a finger-joint instead. A finger joint requires very specific shim/template to have the proper fitment and count so I mocked this part up in 3D and prototyped in PLA:
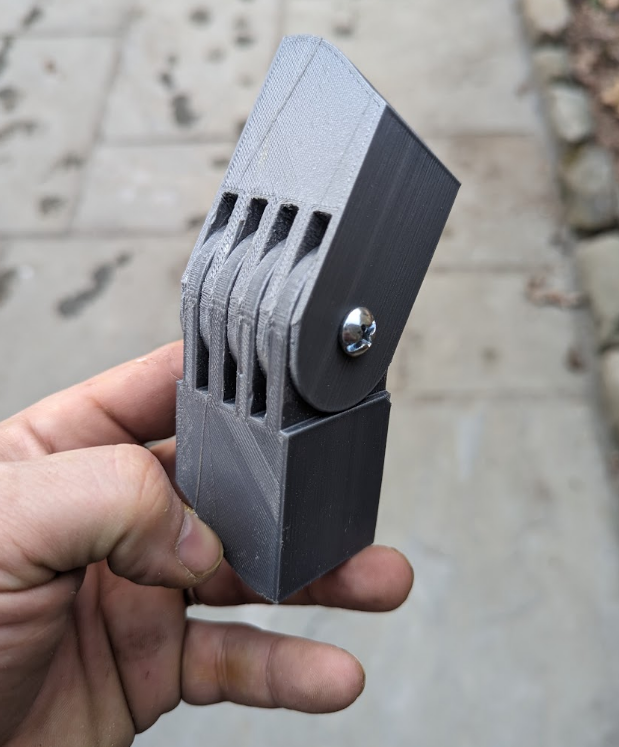
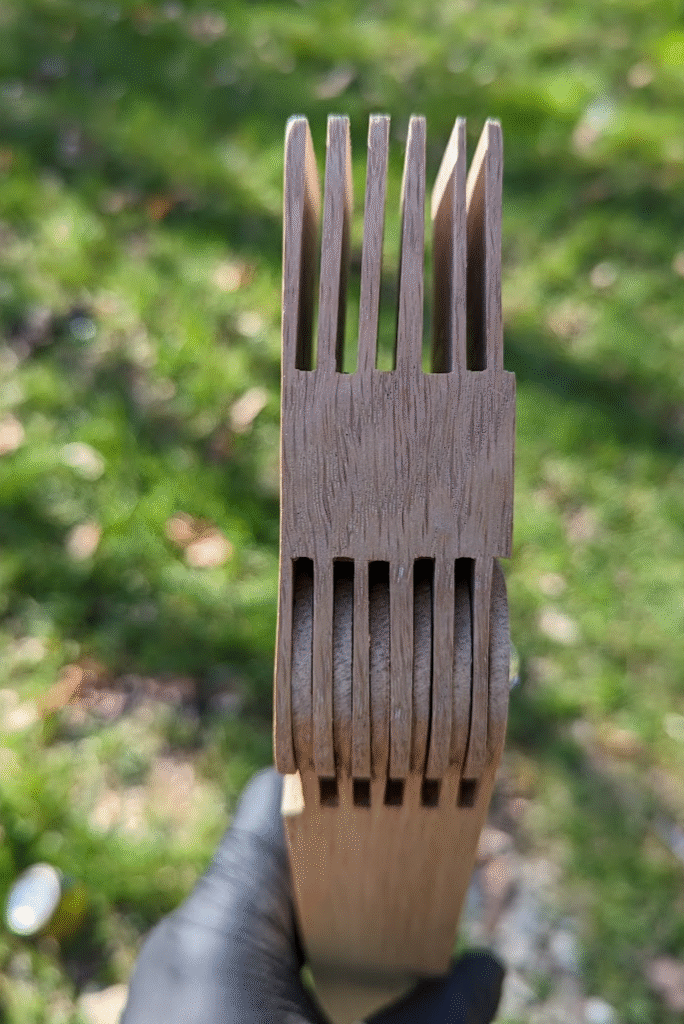
The finger-joints are my favorite part of this piece — incredibly satisfying to adjust and beautiful to look at.
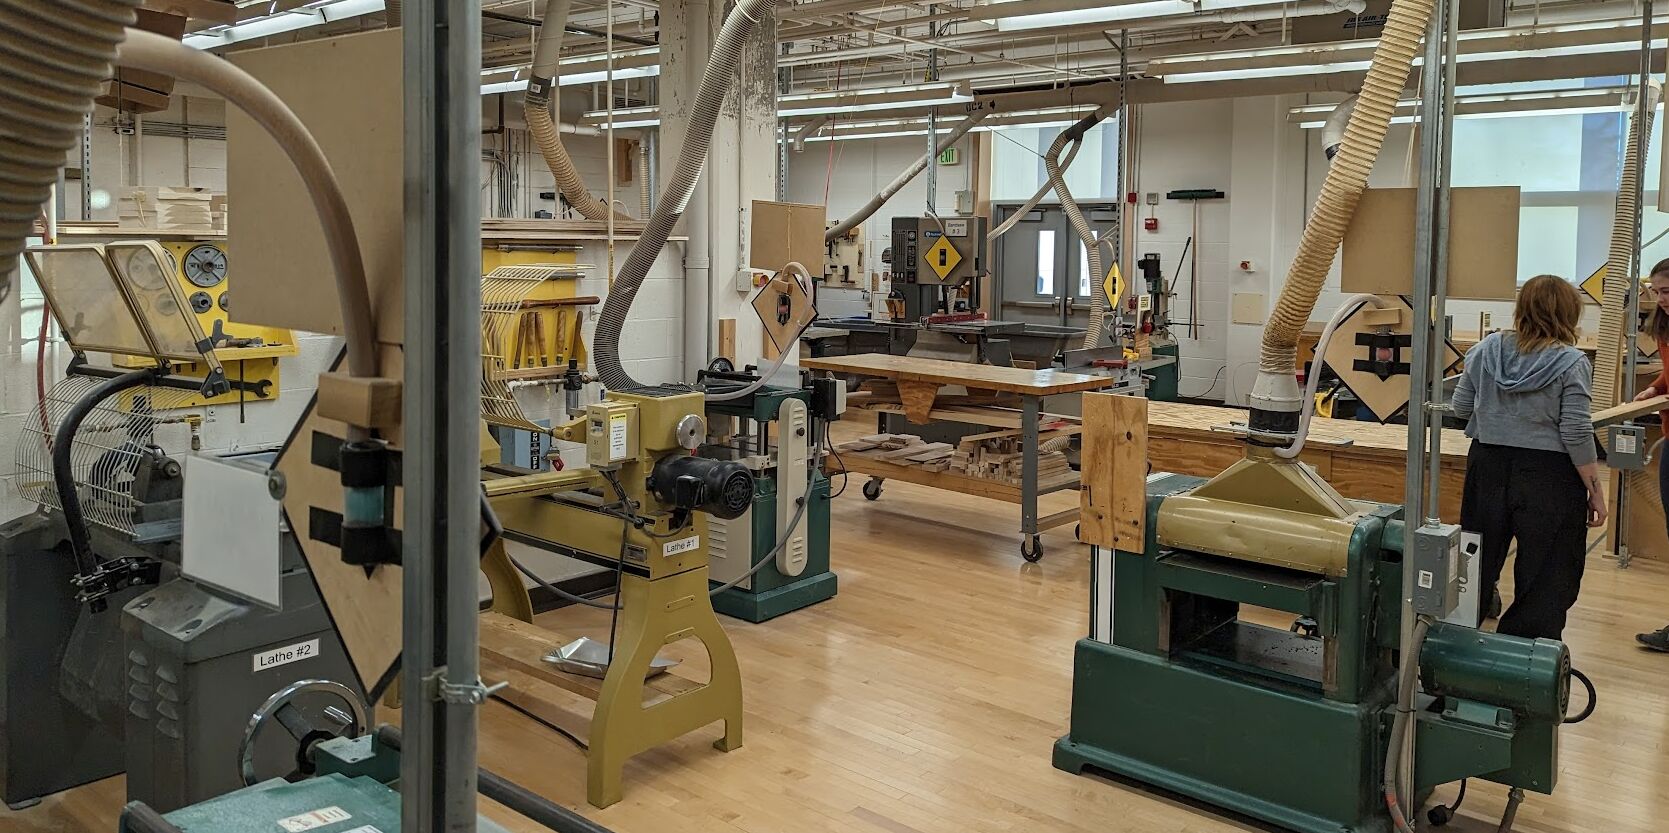
As you can imagine, crafting this table out of a single chunk of wood took an incredible amount of effort. I spent several nights in the workshop until 2AM and I was NOT alone!
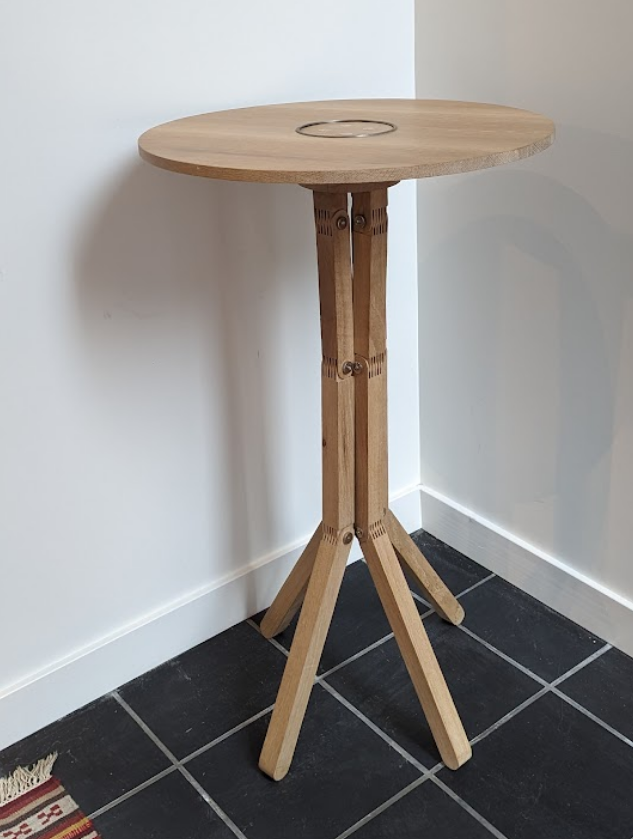
The finished piece nailed all of my design goals: weird, functional, slick. It sits in my vestibule at my house and every day I get a kick out of it. Jeff and Ed said that we should think about this as an heirloom that we would pass down to our family and I would be proud to pass this on to my kids.
Final Thoughts
When I was debating whether or not to take Basic Wood Design with Aaron Nelson (Head of DDF grad program), he said that wood had a high level of compatibility with CAD. “Essentially a bunch of extrusions” The Prion Table drove this point home. Designing the table in Rhino felt like a natural process aided by integrated drafting techniques and decent real-time rendering capabilities.
The upshot: a simple chunk of wood can become almost anything! A fantastic wood shop and great instruction help to make that anything possible as well.