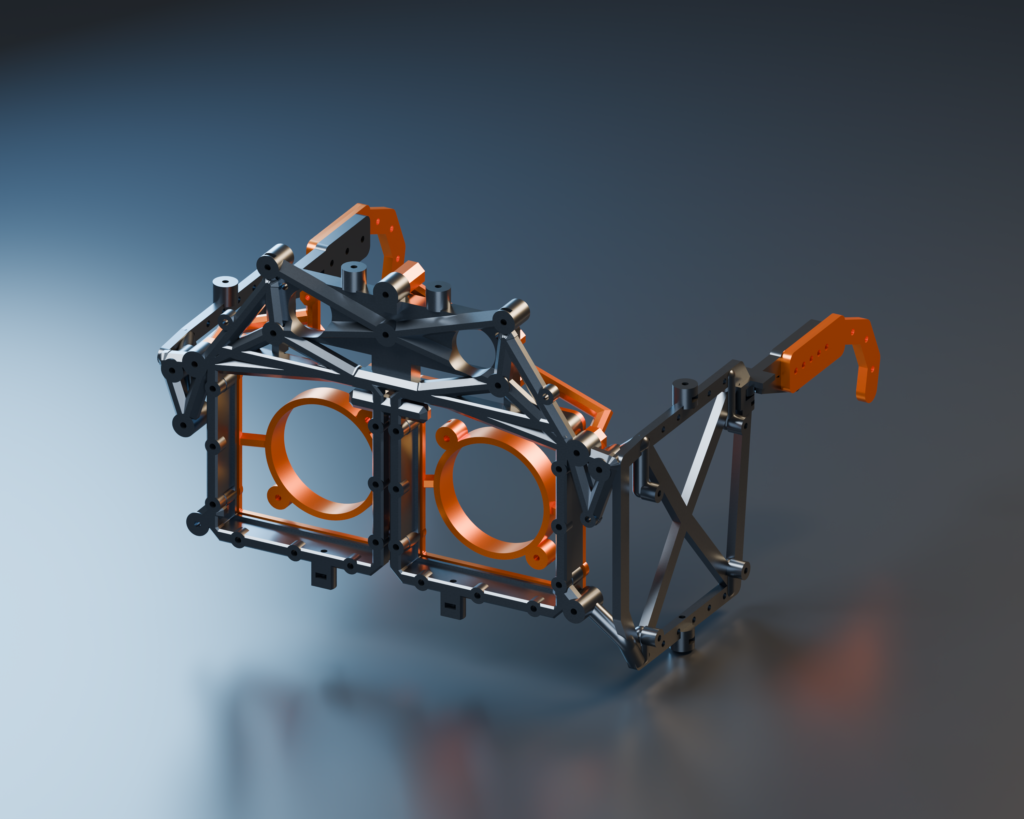
Problem: The Veil needs an outward-facing screen in front of the wearer’s face. The iglasses work deals with seeing out. This part deals with keeping the thing everyone else sees attached to my head.
Approach: Build a flip-up carrier for a 10.1-inch screen, with adjustable headgear and the same exposed braces and angular structure as the glasses. Keep the Raspberry Pi and battery off my head. There is already enough going on up there.
The screen is mounted vertically. At roughly 149 × 229mm, the panel is a fairly substantial object to hang in front of a face. It needs a frame, that frame needs support, and the support needs to let me lift the whole assembly out of the way.
A face shield seemed like a reasonable place to start.
It has acquired quite a few parts.
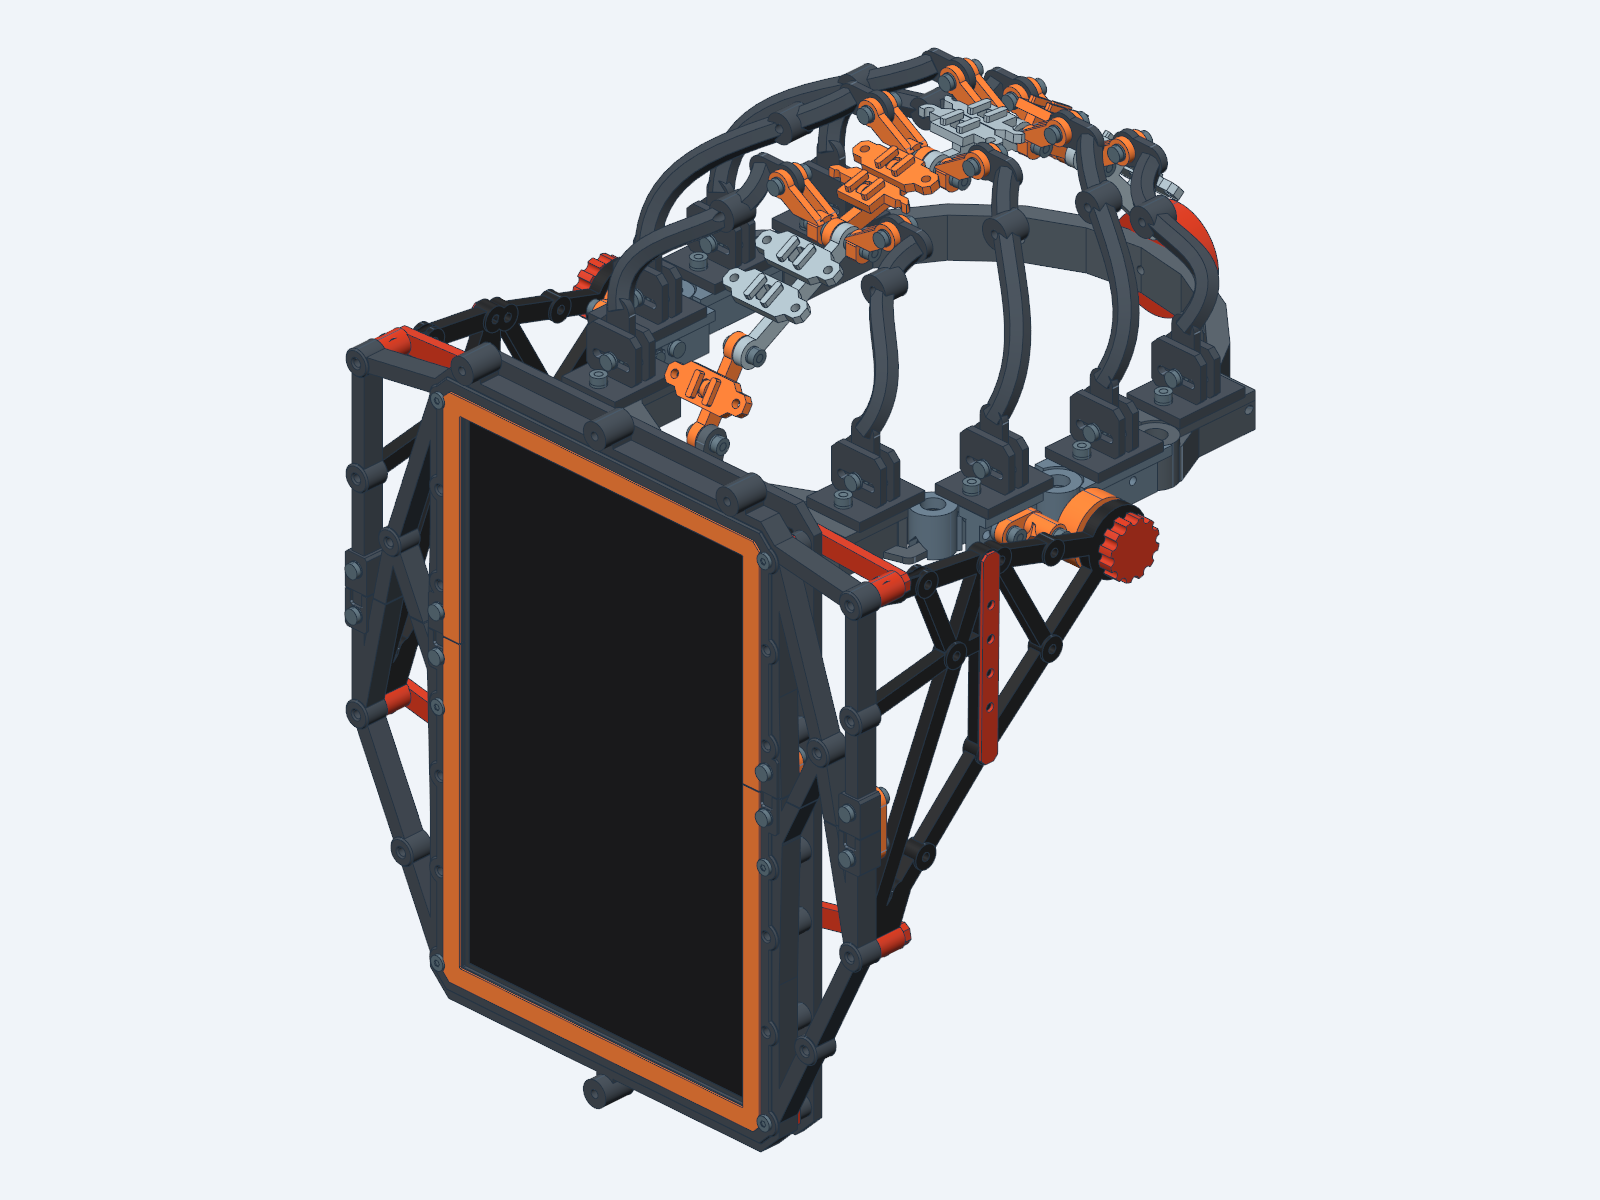
The screen sits in an open-backed cage with removable retaining tabs, a rear perimeter rail and triangulated side supports. The graphite/orange treatment carries over from the iglasses. I like being able to see how the thing is put together; the mounting points and braces are part of its appearance.
The side arms let the screen swing up. The current model travels through 85 degrees. Earlier versions went farther, until the rear screen rail ran into the crown. This is the sort of feature that looks perfectly reasonable until you actually move it.
Challenge: Heads are inconvenient shapes.
The crown uses eight swept ribs connected to a segmented spine over the top of the head. I tried a bulkier flat-link version, but wanted to keep the curved, skeletal appearance. That decision means more work at the joints and supports when printing. Apparently I am attached to the ribs.
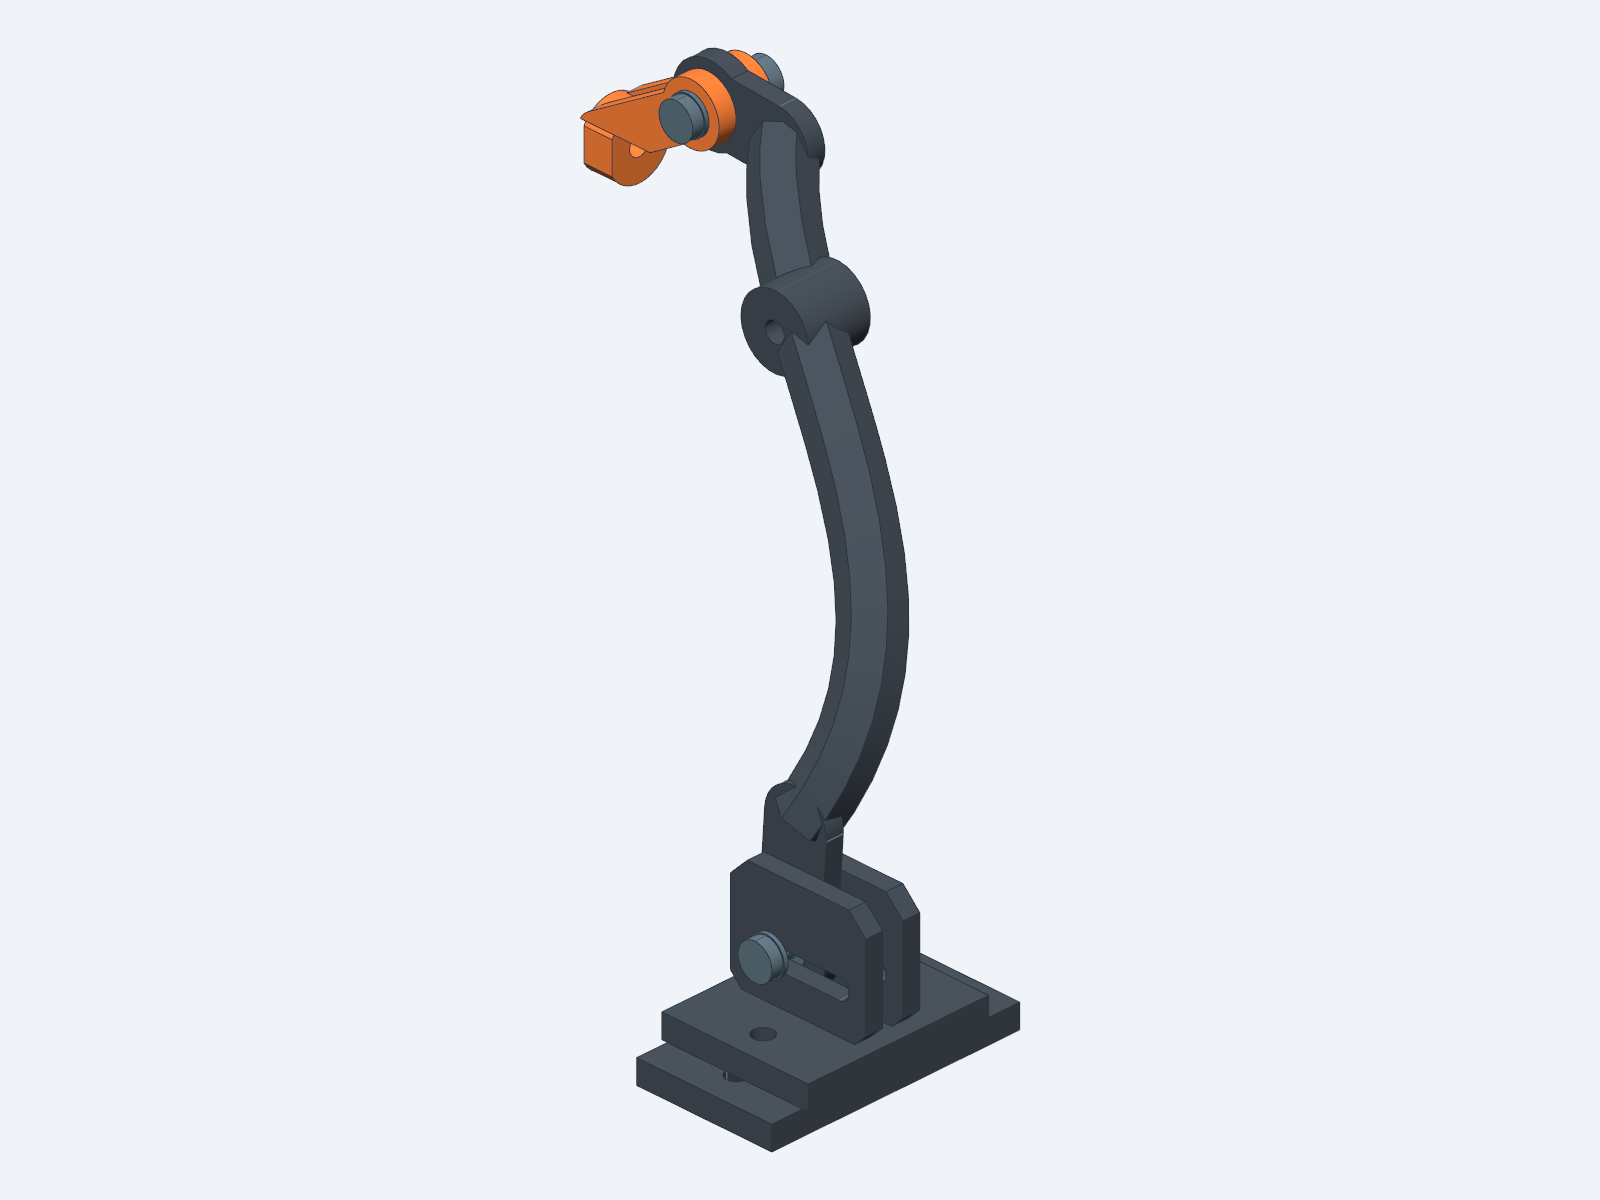
Each rib has a pivot at both ends. The lower mounts can slide, and the spine segments can change angle before being bolted tight. The idea is to adjust the crown without having to bend the printed ribs into submission. The modeled fit change is small: the upper rib pivots rise by about 4mm. Enough to work through how the parts need to move together, but still something I need to try on an actual head.
The lower band is now six sections connected by captive ball joints. These are intended to print together, with clearance between the balls and sockets. There is a small test coupon for finding out whether the PLA agrees with this arrangement before committing to the whole band.
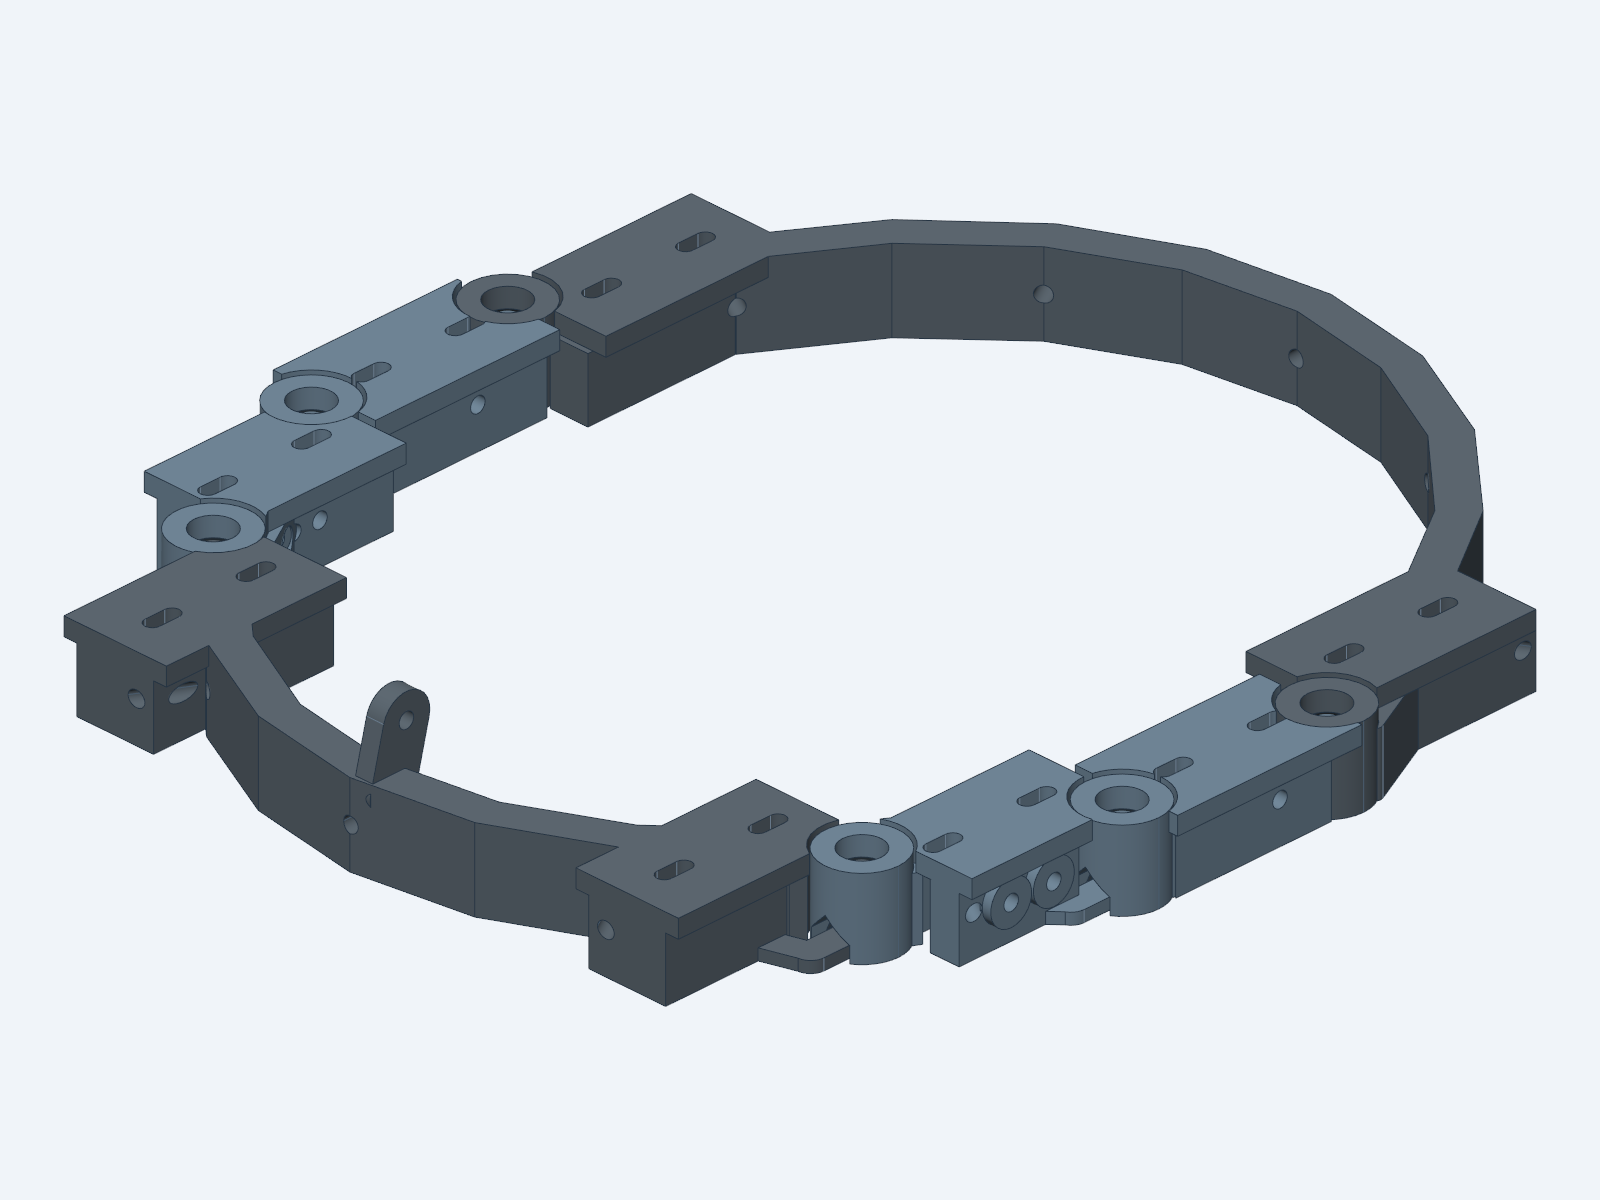
The tightening dial at the back is still a placeholder. I want a worm-gear/ratchet arrangement, but the mechanism and band take-up still need to be designed. A cylinder in the right place is a very cooperative piece of hardware. It never jams.
Another challenge: Getting the screen frame onto the printer.
The current revision splits the frame horizontally. Locating tabs align the two halves; four bolted splice plates hold the joint together. The rear rail and orange bezel are split as well.
This gets it onto the printer, but it is kind of a cheat. I still have a monolithic screen frame. Now it comes in two pieces. The joint uses bolts rather than glue, but cutting the thing in half hasn’t really addressed how it should be built.
I want to come back at this from a structural/component approach. Side rails should carry the screen loads into the lift-arm attachments. Top and bottom crossmembers should tie those rails together, with properly seated corner joints and accessible fasteners. The screen retainers and decorative bezel can be separate parts, each doing its own job.
The component boundaries should follow how the frame works. Fitting the printer is still necessary, but it shouldn’t be the entire design strategy. That is the next CAD pass.
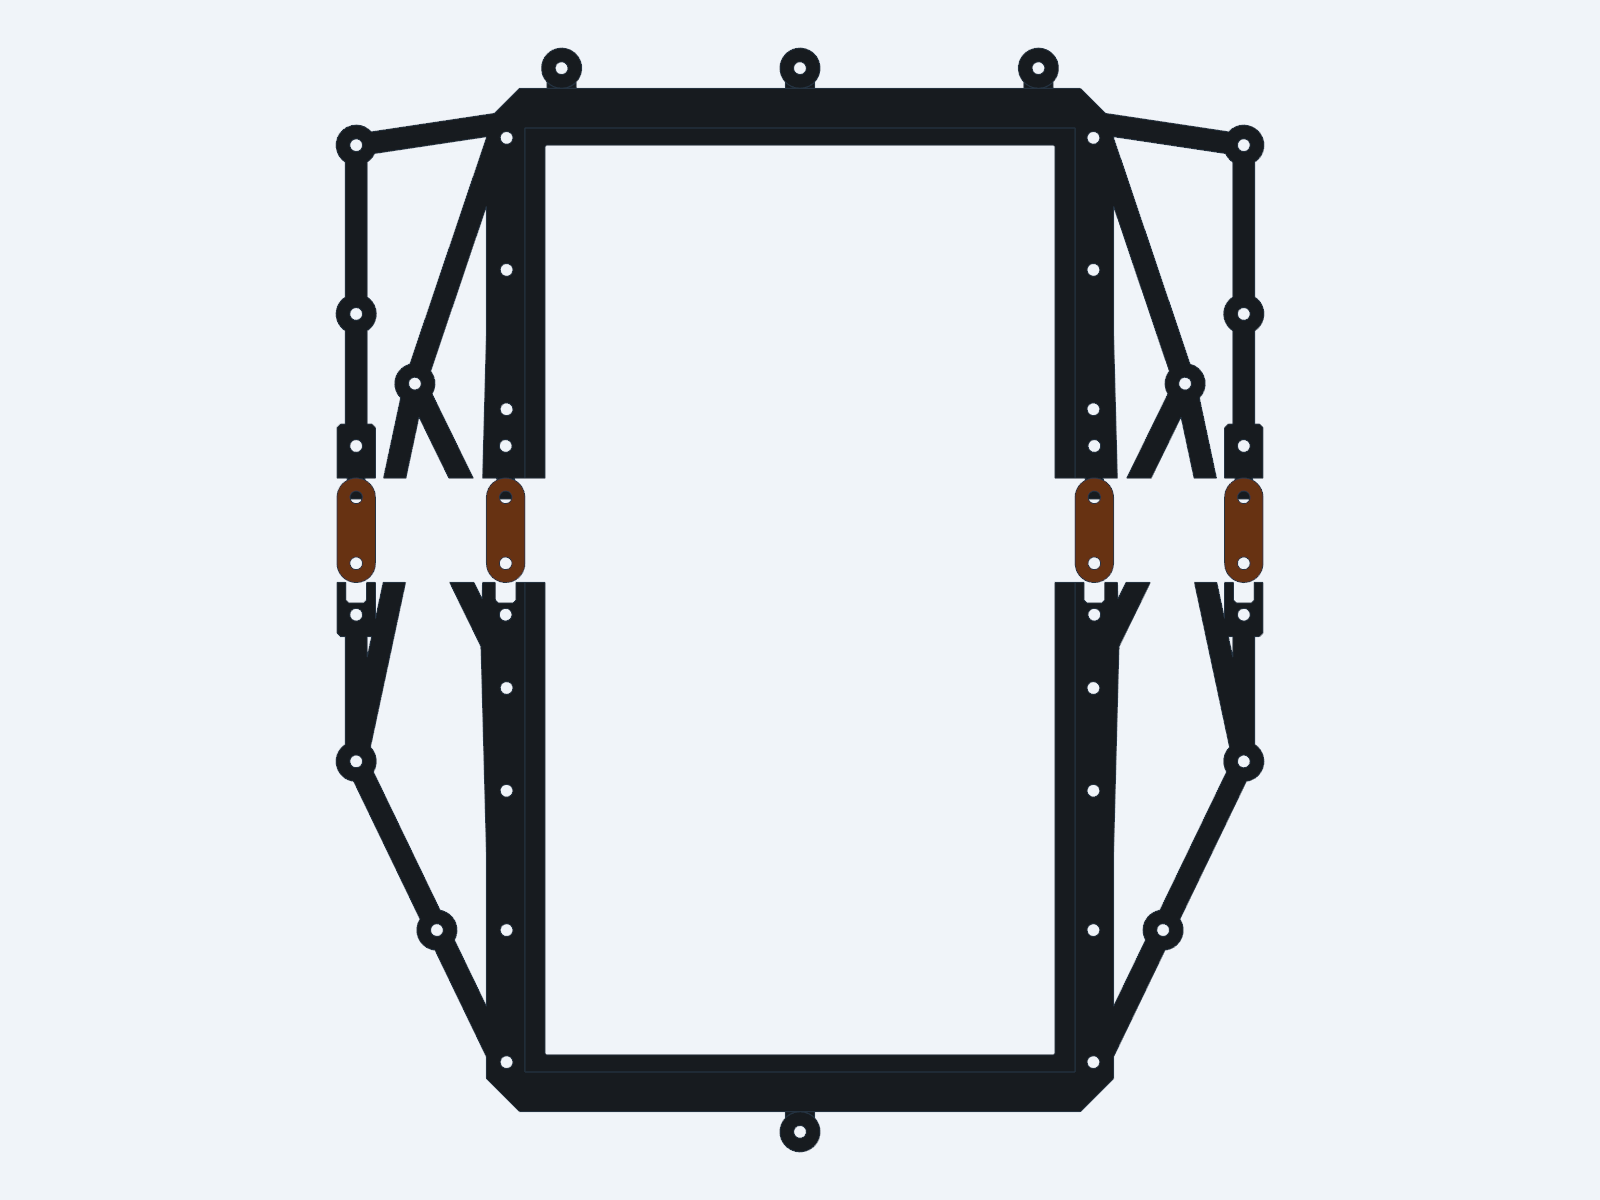
Each carrier half gets its own plate on the Bambu X1 Carbon. Even split, the long dimension is 252.5mm on a 256mm bed. Not much room left for a brim! Supports and plate placement still need a close look in the slicer.
Status: CAD and print preparation. The first material is PLA.
The geometry checks cover the frame joints, mounting interfaces and sampled positions of the screen as it lifts. Physical fit, joint friction and whether the hinges will hold the screen up are still ahead. So are the screen’s connector clearances, cable routing and strain relief. Moving the battery and Pi off-head helps with weight, but leaves a cable that has to follow a moving screen.
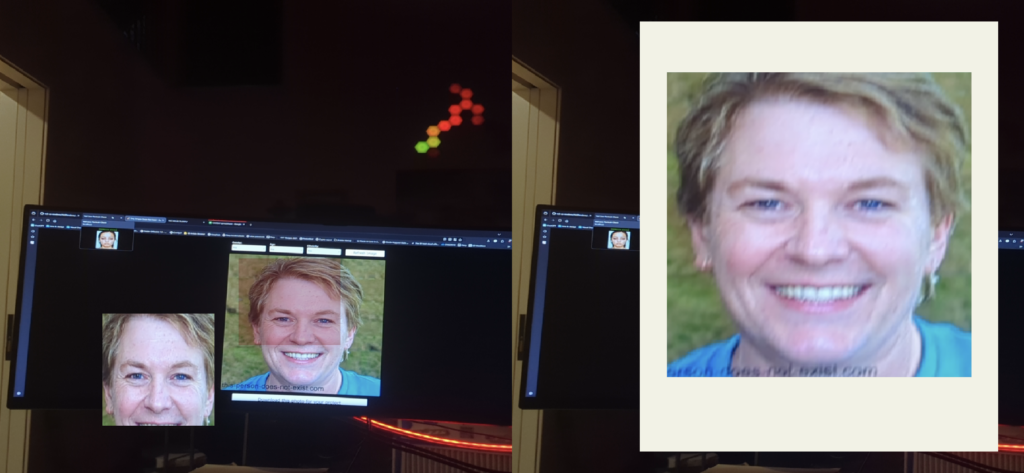
The FaceTook work explores what happens when someone encounters their own captured face on the display. This part is about making that encounter physically possible. A screen replacing my face is central to Veil. Having to hold it there with both hands would get old pretty quickly.
Next: rethink the screen frame around its structural components. The ball-joint coupon and rib/spine tests can still go ahead while that develops. Then dry-fit the revised frame and find out what needs to change before putting the screen in it.